Adding a Custom Logo to the Builder Site
The following tutorial will show you how to place an image that can replace the company logo. However, the manipulation of that image will be up to you. In order to make changes to the image, you can use a program like Adobe Photoshop, or a freeware appliation like GIMP in order to create the GIF file that you will use to replace the Builder logo file.
It is important to remember that the in spite of the fact that we are going to place a larger image for the company logo in your Builder site, there will still be a limitation on the size of the logo based on the height of the banner. You may need to experiment in order to determine the size that best suits you due to the different template sizes. You will need to observe how your logo fits in order to avoid overlapping the text.
Modifying the Logo used in the Premium Web Builder
- First let's look at the size of the logo that's already in place for the template you are using. Determine your logo size in order to see if you need to change the image to a larger graphic. You may also need to load a custom banner.
- Before you can replace the logo graphic, you will need to publish your Builder site.
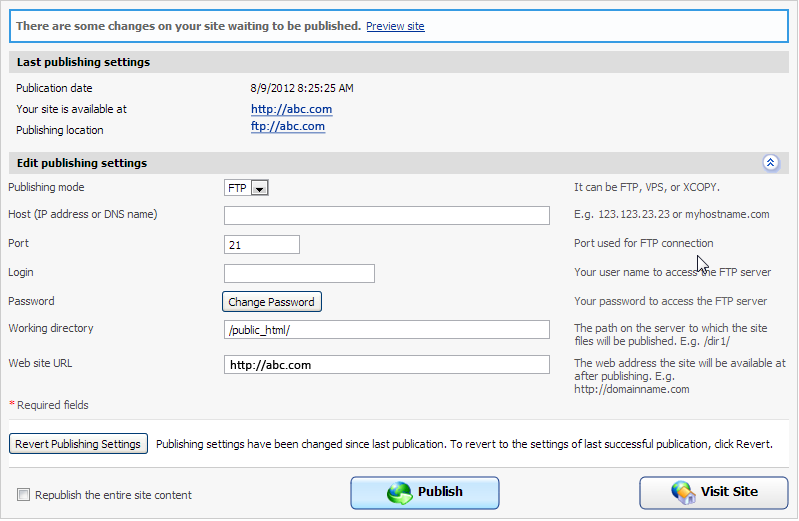 Login to your cPanel and then locate the directory where you published your Builder website. You can find this information in the PUBLISHING options.
- Go to the IMAGES folder and look for the file named LOGO.GIF. If you haven't already determined the size that your logo will be, then work with your logo image to fit it into your template. You can use the following steps to upload and review your logo to make sure that it fits.
- Using the file manager, upload your new company logo. Make sure the name of the file is not "logo.gif" unless you want overwrite the existing logo file immediately.
- If you did not overwrite the existing file, then rename it to "logo-old.gif" or something to that effect. You can rename the file by selecting it and the click on the RENAME option at the top of the file manager. Then rename your new company logo file to logo.gif.
 Refresh your website URL to observe the change.
NOTE: Whenever you re-publish the website or change the template and re-publish the website, then your changed file can be overwritten. So, it's very possible to lose your logo file. Therefore, it's important that you keep a backup of the logo file.
This completes the tutorial on adding a custom logo. This method of replacing the logo allows you to avoid the automatic resizing of the logo file due to the Builder template requirements.
Did you find this article helpful?
Tweet
Category
Customize Your Site
Help Center Login
Customize Your Site
Related Questions
Here are a few questions related to this article that our customers have asked:
Would you like to ask a question about this page? If so, click the button below!

We value your feedback!
There is a step or detail missing from the instructions.
The information is incorrect or out-of-date.
It does not resolve the question/problem I have.
new! - Enter your name and email address above and we will post your feedback in the comments on this page!