Adding Images to Products in PrestaShop 1.6
Images are the life of your products in PrestaShop 1.6. You can have more than one image for the products in your inventory. You can also designate one of those images as the primary or cover image. The following tutorial will show you how to use the Images option within the Products section of the PrestaShop 1.6 Administrator.
Adding or Editing Images for Products
- Login the PrestaShop 1.6 Administrator.
- Hover over Catalog in the menu at the left, then click on Products.
- You will first see a table of all the products in your inventory. Click on EDIT for the product where you want to add (or edit) the images.
-
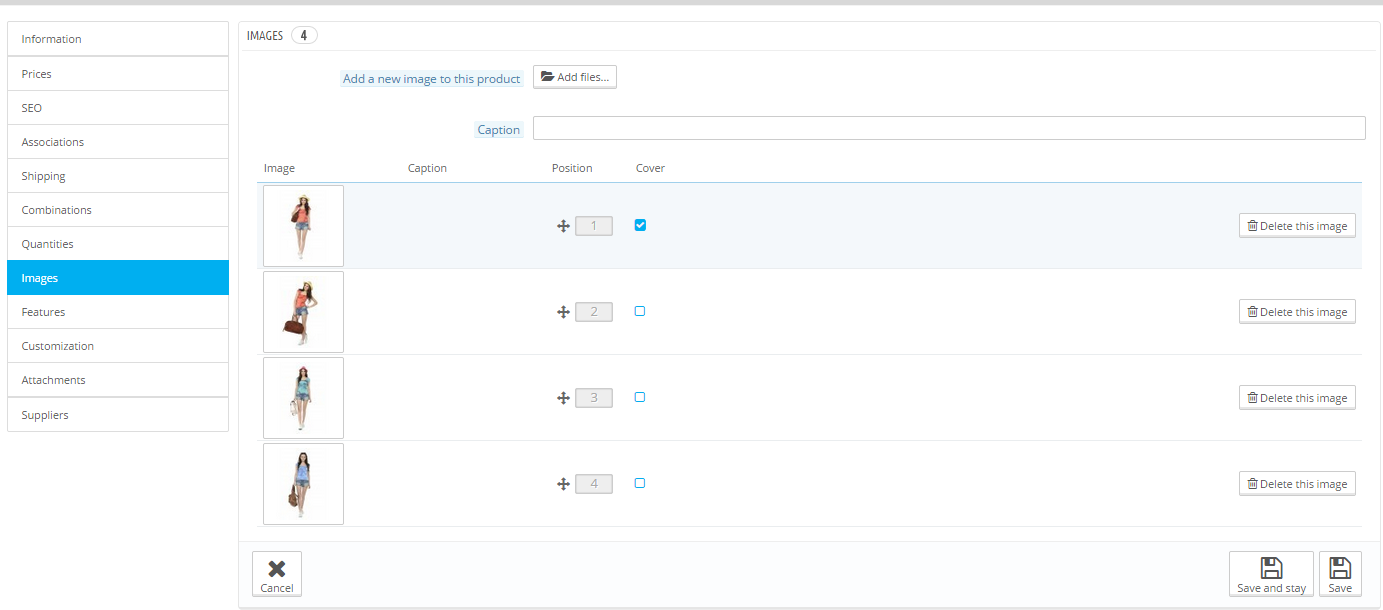
Next, Click on Images in the column that appears to the left. This will bring up the list of images assigned for the product.
-
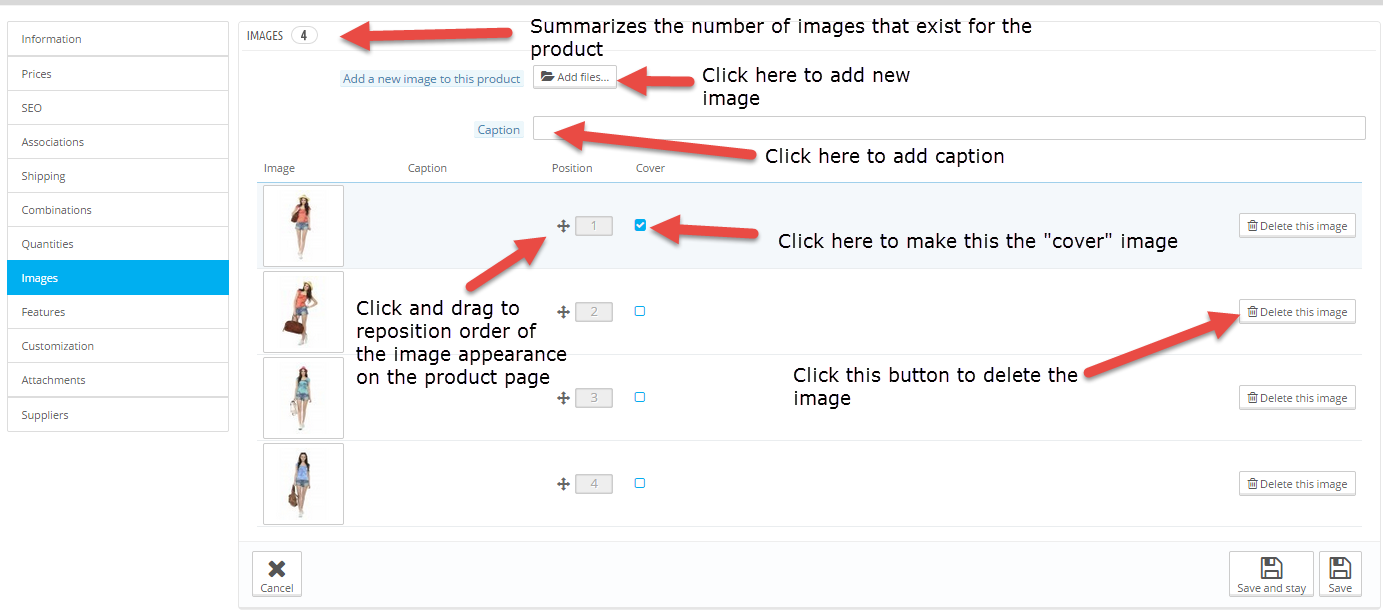
The interface for adding images has a variety of options. Click on the screen shot at right to see each option's location. Click on the Add files button in order to add a new image.
-
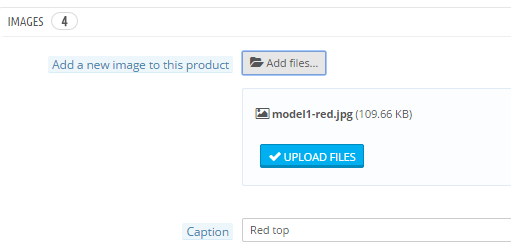
After you have clicked on the Add files button, you will see the name of the file with the file size in parentheses. You will also see a blue button labeled UPLOAD FILES and the Caption field. Click on the Caption field to add a caption, then click on the blue UPLOAD FILES button.
-
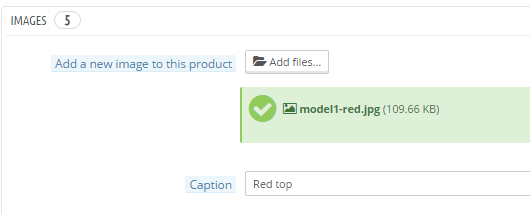
When an image is successfully added, you will see a green box appear indicating the image name and file size. The caption field remains below the confirmation. The added file will appear at the bottom of the image list. Make sure to click on the image and check to insure the image is correct.
-
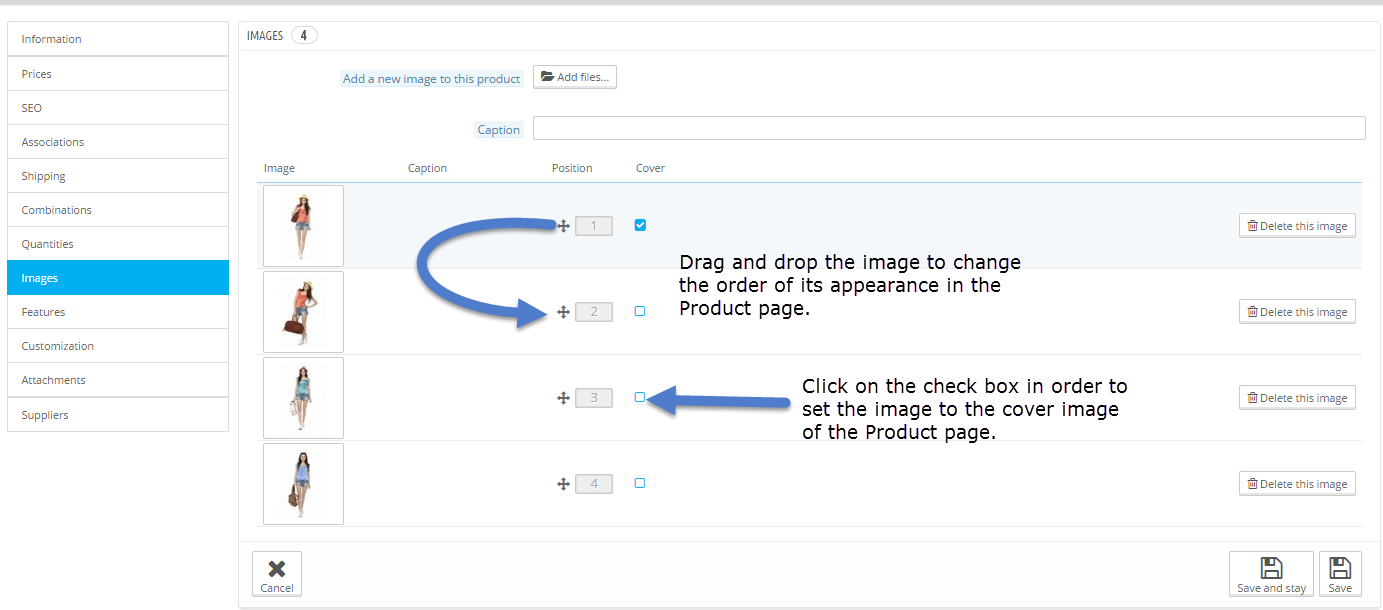
After the image is successfully added, you have the option of re-positioning the image order. You can also set the image as the cover image for the product. In order to change the position the image order, simply click-and-drag the image up or down the listed images. Click on the check box to set the cover image for the product. The cover image is the main image on the product page.
- Click on Save and Stay or Save in order save your image entries.
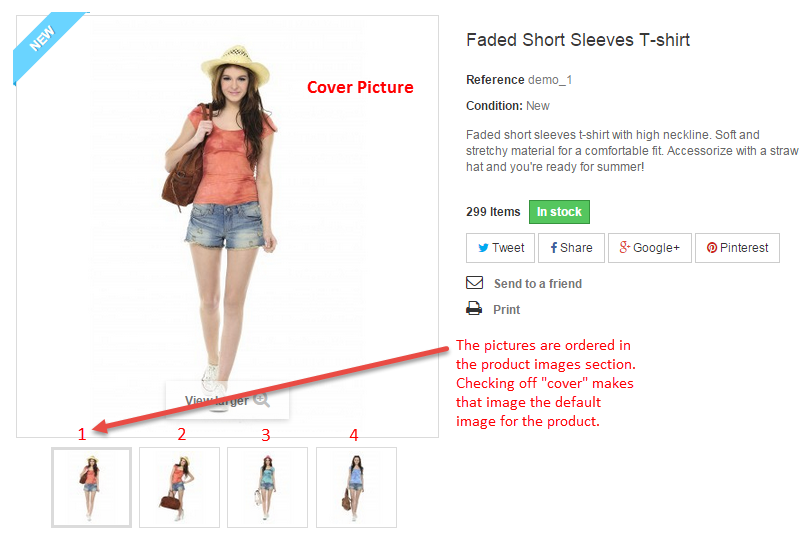
Once you have completed adding your image or editing the image entry, you will see the product list or remain in the interface for the product image. In the top right hand menu, there is option called Preview that let's you see the product page. Click the screen shot at right to see more details about the products page. This completes the tutorial for adding images to a PrestaShop 1.6 product. If you need further information, please see the PrestaShop 1.6 Education Channel.
Did you find this article helpful?
Tweet
Help Center Login
Related Questions
Here are a few questions related to this article that our customers have asked:
Ooops! It looks like there are no questions about this page.
Would you like to ask a question about this page? If so, click the button below!

We value your feedback!
There is a step or detail missing from the instructions.
The information is incorrect or out-of-date.
It does not resolve the question/problem I have.
new! - Enter your name and email address above and we will post your feedback in the comments on this page!