Adding an Image to a Product in PrestaShop 1.5
Your product will most often have some image associated with it that will be displayed in the shop front. The following tutorial will show you how to add a picture to your product within the Prestashop 1.5 Administrator.
Assigning Images to Products within PrestaShop 1.5
- Login to the Prestashop 1.5 Administration Panel as an Administrator
- Go to the menu bar and hover over CATALOG until the drop-down menu appears. Click on PRODUCTS
- If you are managing an existing inventory, you will see a list of your products. Select one of your products and then click on EDIT. Otherwise, select ADD NEW from the top right hand side of the screen in order to add a new product to your list.
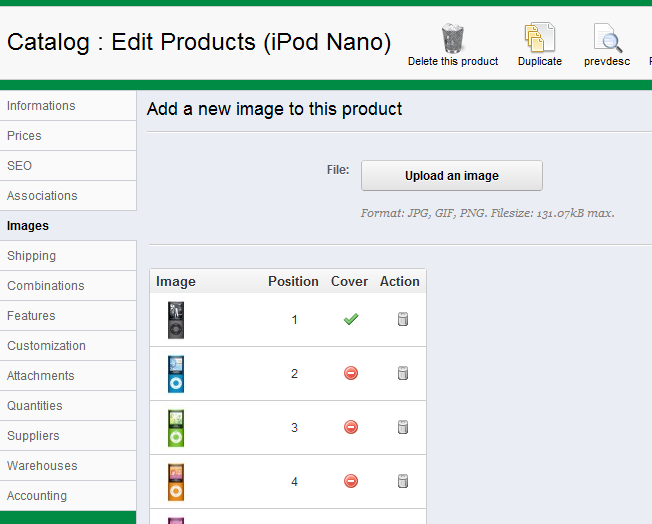
- Scroll down until you find IMAGES. Click on this option and you will see the following screen:

The screenshot above shows the many different colors of a product and the images that are associated. The different actions that are available to administrators include the following:
UPLOAD Button at the top of the IMAGES screen that allows the administrator to upload a graphic file. Click on
the button in order to bring up the upload diaglogue for the graphicPOSITION Position allows you to set a numerical value (using your mouse) by simply dragging the number
up or down in the Position columnCOVER Allows you to set the image which will be the cover image for that product. Simply click on the
graphic in the Cover columnACTION Action is actually the delete option. Click on the graphic of the trash can to delete the assigned graphic
Image File Size Limitation: 131.07 KB
Image Format: JPG, GIF, PNG are the file types that are supported - Click on UPLOAD AN IMAGE in order to add an image to the product
- After the image is uploaded, it will appear in the list, and you will have the option to set POSITION or make it the COVER graphic
- Select the SAVE option in the top right hand corner in order to save your changes
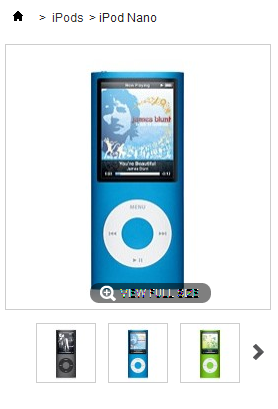
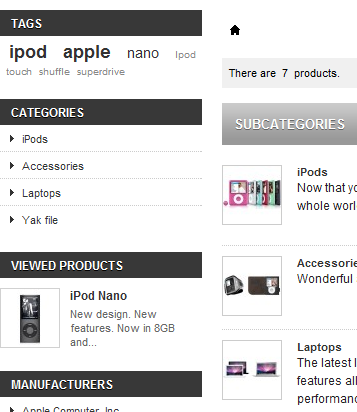
The image of your product is an important part of making sure that your product's presence in your Prestashop installation. The changes in the IMAGES section of the product are seen in the storefront by the customer. Here are a few screenshots of the impact of the product image in a Prestashop 1.5 shop front:
 |
 |
Did you find this article helpful?
Tweet
Help Center Login
Advanced Product Settings for PrestaShop 1.5
Related Questions
Here are a few questions related to this article that our customers have asked:
Ooops! It looks like there are no questions about this page.
Would you like to ask a question about this page? If so, click the button below!

We value your feedback!
There is a step or detail missing from the instructions.
The information is incorrect or out-of-date.
It does not resolve the question/problem I have.
new! - Enter your name and email address above and we will post your feedback in the comments on this page!