How to Manually Install osCommerce
 In this tutorial we will walk you through a manual installation of osCommerce, which is a popular free open-source E-commerce software option. osCommerce is written in PHP, and requires a mySQL database to function.
We also have a guide on how to install osCommerce fom Softaculous, which is a simplified installation.
Minimum System Requirements:
PHP 4, but PHP 5 is recomended.
mySQL 3, but version 5 is recommended.
Note: Webhosting Hub's servers meet these requirements.
Database Setup:
- Use the MySQL database wizard in cPanel to create the database, database user, and add the user to the database. Be sure to write down the database name, username, and password you created as we will use this later in this tutorial.
Downloading osCommerce:
- Navigate to the official osCommerce website.
- Click the Products button on top.
- From the drop-down menu select the latest full package (in my tests it was titled v2.3.3 Full Package), and click the green Download button.
The file will pop up, download it to your local computer. At the time this guide was written, the file I downloaded was titled
oscommerce-2.3.3.zip
Extract & Upload:
- Extract the file you downloaded to your local computer. At the time this guide was written the folder is called: oscommerce-2.3.3
- Using FTP upload the contents of the catalog folder, and the other files to the location you want your osCommerce website to exist. For example if you want the website to show up on your main website address mydomain.com, you would upload the files to the public_html folder directly.
If you want the site in a subfolder such as: mydomain.com/eshop, you would create a folder in the public_html folder titled eshop and upload the files directly to that folder.
Installing osCommerce:
- Navigate to the web address where you uploaded the files. For example if you uploaded the file to the public_html folder you would navigate to:
mydomain.com
The New Installation menu will come up, and check your server's capabilities. Click the Continue button to proceed.
- The Database Server menu will come up and ask for specific settings. Fill in the fields with the requested information. Remember, these are the database settings you created earlier in this tutorial.
Option Description Example Database Server Since the database is on the same server as the install you will use localhost. If you are connecting to a database remotely, you will typically use the domain name. localhost Username Enter the username you setup previously. userna29_oscom Password Enter the password you setup previously. h19H9~=+%f Database name Enter the name of the database you setup previously. userna29_dbnam
After filling in the fields select the Continue button.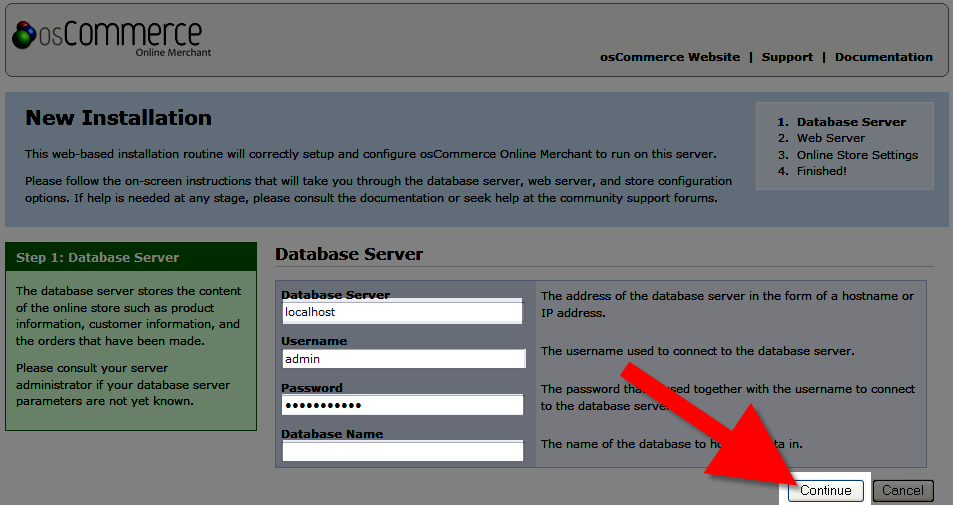
- The Web Server menu will come up, and request some specific information.
Option Description WWW Address Enter the address of your oscommerce website, include the http://
Example: http://mydomain.com, or http://mydomain.com/eshopWebserver Root Directory Enter the root directory of the osCommerce install.
Example: If it is in your public_html folder, the location will be:
/home/userna29/public_html
If it is within the public_html folder, it will be:
/home/userna29/public_html/folder1/folder2
After filling in the fields click the Continue button. - The online store menu will come up and request information, fill in the required fields.
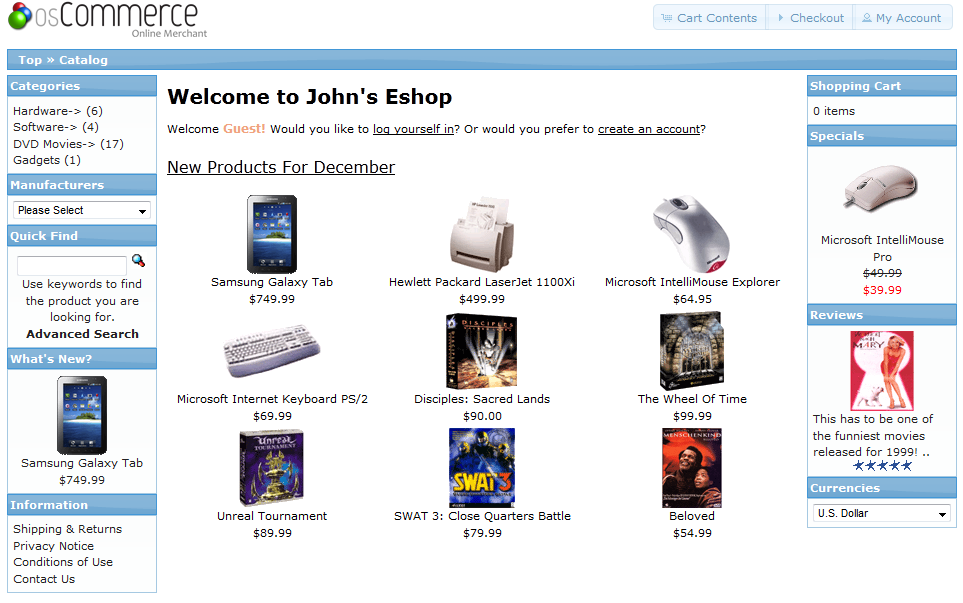
Option Info Requested Example Store Name The name of the online store that is presented to the public. John's Eshop Store Owner Name The name of the store owner that is presented to the public. John Doe Store Owner E-Mail Address The e-mail address of the store owner that is presented to the public. This email address is being protected from spambots. You need JavaScript enabled to view it. Administrator Username The administrator username to use for the administration tool. admin Administrator Password The password to use for the administrator account. K^38H@B*(2r Time Zone The time zone to base the date and time on. New York
After filling in the fields, click the Continue button. You will see a notification stating "The installation and configuration was successful!" and a list of Post-installation notes.
Post-installation Steps:
- Using FTP locate and delete the install folder, then rename the admin folder for security purposes. For example rename it: osadmin, or admin-login
- In the includes folder locate the configure.php file and change the file permissions to 4-4-4 or read-only.
Congratulations, now you know how to perform a manual installation of osCommerce! Next, login to the Admin panel to begin working on your osCommerce eshop.
Did you find this article helpful?
Tweet
Category
osCommerce Installation and Login
Help Center Login
osCommerce Installation and Login
| 1. | Installing osCommerce Using Softaculous |
| 2. | How to Manually Install osCommerce |
| 3. | Securing osCommerce Through htaccess/htpasswd |
| 4. | Logging into the osCommerce Admin Panel |
Related Questions
Here are a few questions related to this article that our customers have asked:
Ooops! It looks like there are no questions about this page.
Would you like to ask a question about this page? If so, click the button below!

We value your feedback!
There is a step or detail missing from the instructions.
The information is incorrect or out-of-date.
It does not resolve the question/problem I have.
new! - Enter your name and email address above and we will post your feedback in the comments on this page!