What is Sucuri?
- Details
- Written by Arnel Custodio
Sucuri is a security company that is partnered with Web Hosting Hub. This allows us to offer you the latest in malware cleanup, protection, and monitoring services among other tools.
How much is Sucuri?
Sucuri costs $199.99 per year.
How do I get Sucuri for my Web Hosting Hub account?
You can sign up for Sucuri directly on the Web Hosting Hub Sucuri page.
How Do I use Sucuri?
Here are several tutorials that will help you to understand how to use Sucuri with your Web Hosting Hub account.
Setup the Server Side Scanner in Sucuri
- Details
- Written by Web Hosting Hub Contributor
In this tutorial:
In this tutorial we will show you how to set up the Sucuri Server Side Scanner. There are two ways to enable this scanner. We will show you how to enable with FTP settings, and also manually via cPanel.
"This scan is an extension to our remote malware/blacklist scan and it runs once a day. It verifies every single file on your site, looking for backdoors, phishing and any other security issue that our remote scanner could miss. It also tracks file changes, giving you an audit trail of any change that happens on your files.You can enable Server Side Scanning for no extra cost. It is not required, but we recommend all our users to enable it whenever possible (learn more)."
Enable via FTP
- View and save your FTP settings.
- Log into Sucuri.
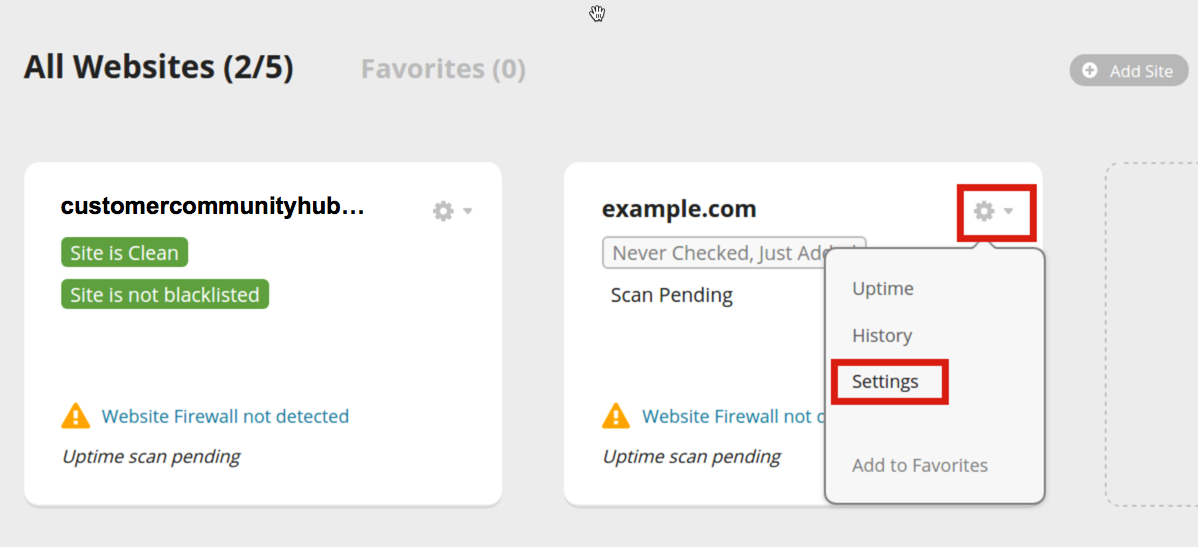 You will then see the websites you have already added. Click the drop-down menu, then click the Settings link.
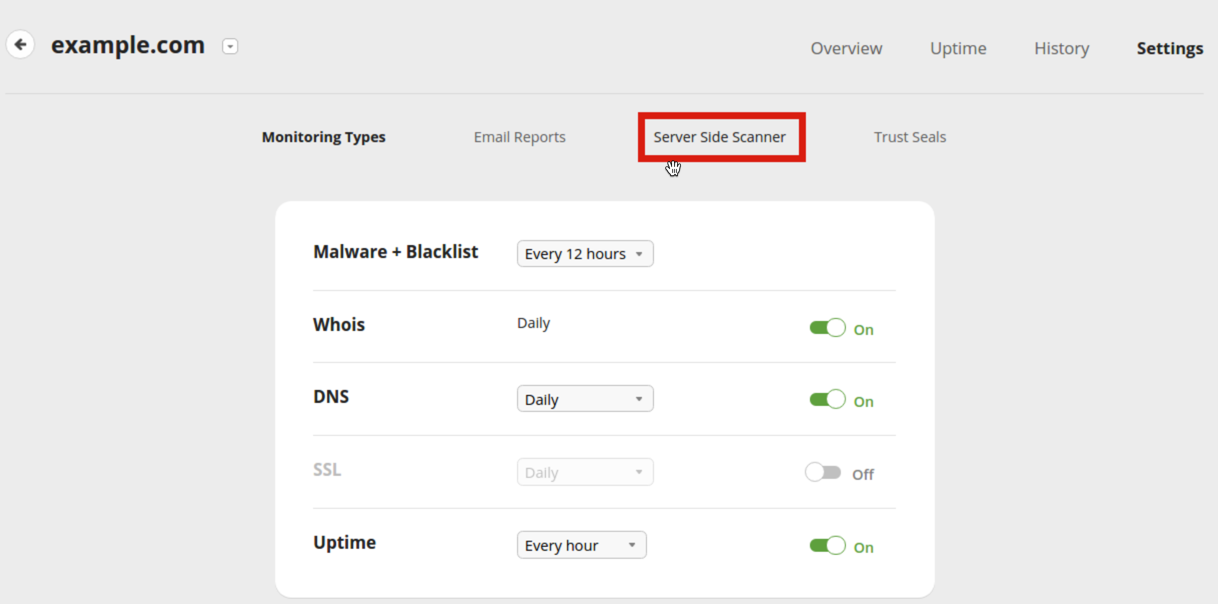 Click the Server Side Scanner link.
- You will then be on the FTP Connection page. Fill in the fields as needed. Below is an example of the settings:
Setting Example Connection Choose FTP. FTP Hostname example.com FTP Port 21 FTP Username userna998 FTP Password Enter your FTP Password. If you do not know it, you can reset your FTP password in cPanel. FTP Directory Enter the document root for your website here. Typically: /public_html/ 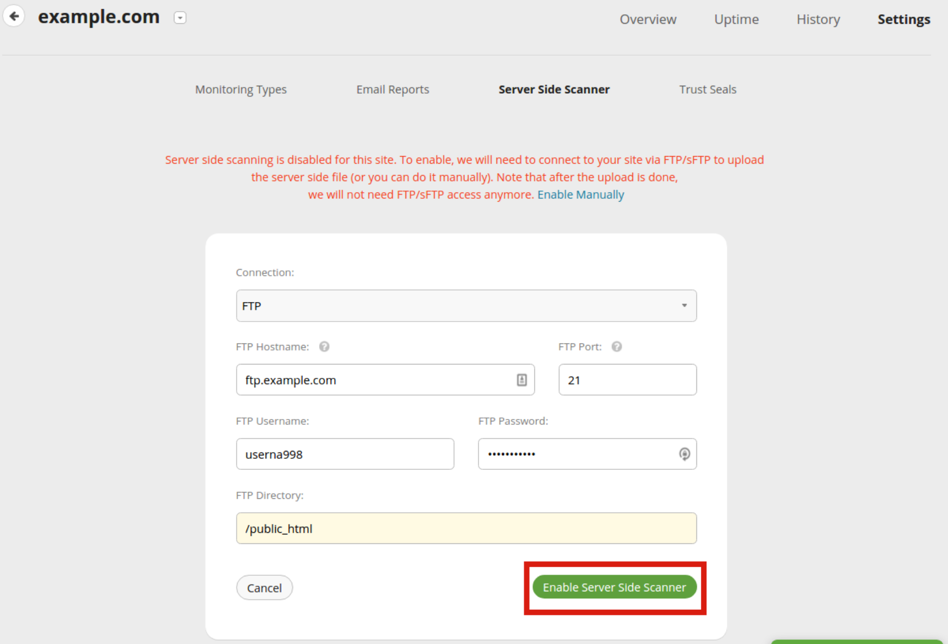 Click the Enable Server Side Scanner button.
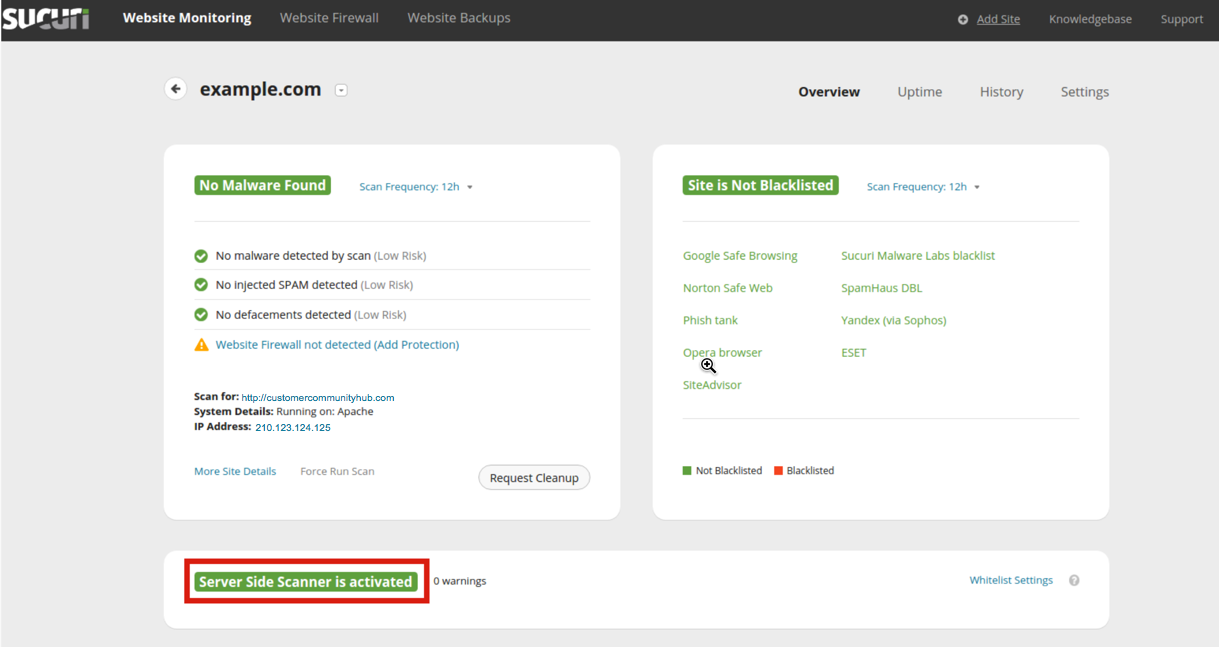 You will then see a message stating "Server Side Scanner is activated."
Enable Manually
- Log into Sucuri.
- You will then see the websites you have already added. Click the drop-down menu, then click the Settings link.
- Click the Server Side Scanner link.
 You will see a message stating "Server side scanning is disabled for this site. To enable, we will need to connect to your site via FTP/sFTP to upload the server side file (or you can do it manually). Note that after the upload is done, we will not need FTP/sFTP access anymore. Enable Manually." Click the Enable Manually link.
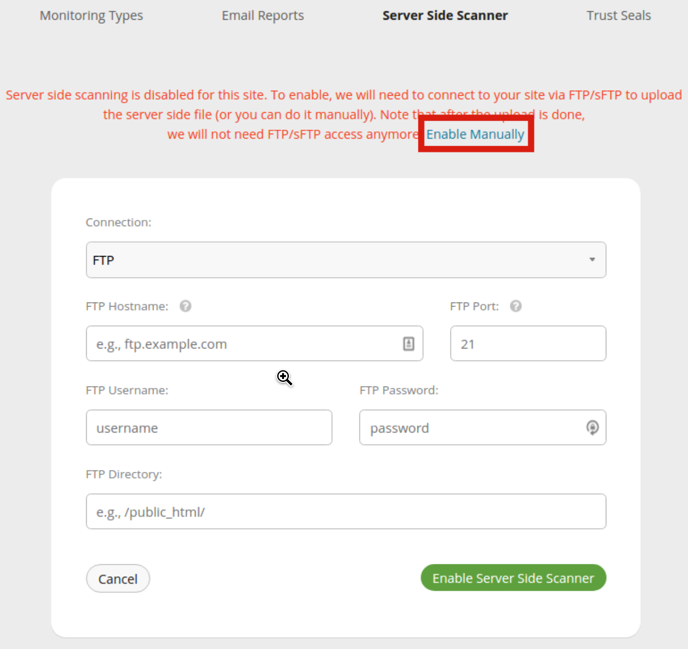 Download the file listed in Step 1 (see the screenshot).
- In another tab, log into cPanel.
 Click the File Manager link in the Files section.
- Navigate to the document root for your website. In my tests it is the "/public_html" folder.
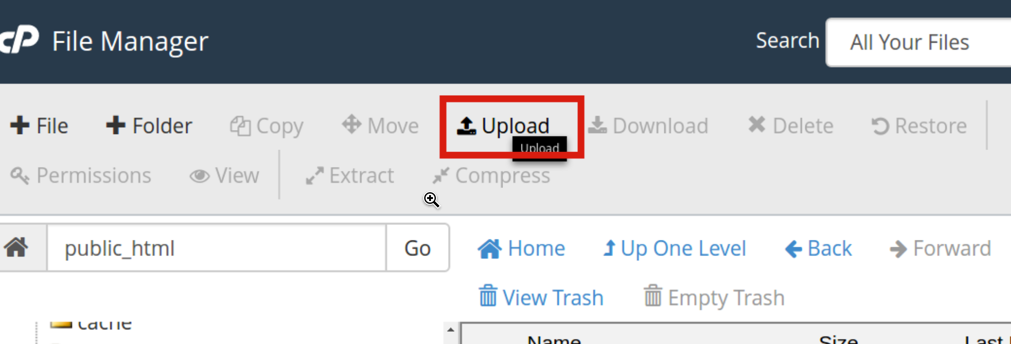 Click the Upload link on the top of the page.
- Drag and drop the file you downloaded, or click the Select File button and choose the file.
- After the file is uploaded, go back to your Sucuri tab and click the Verify File and Enable button.
Congratulations, now you know how to setup the Server Site Scanner in Sucuri!
How to Setup Sucurui Website Firewall Protection
- Details
- Written by Arnel Custodio
In this tutorial we will show you how to setup website Firewall protection in Sucuri. This allows you to enable an additional layer of protection for your website. This requires you to make DNS changes to route your traffic through Sucuri's servers.
Setup Sucuri Firewall Protection
- Log into Sucuri.
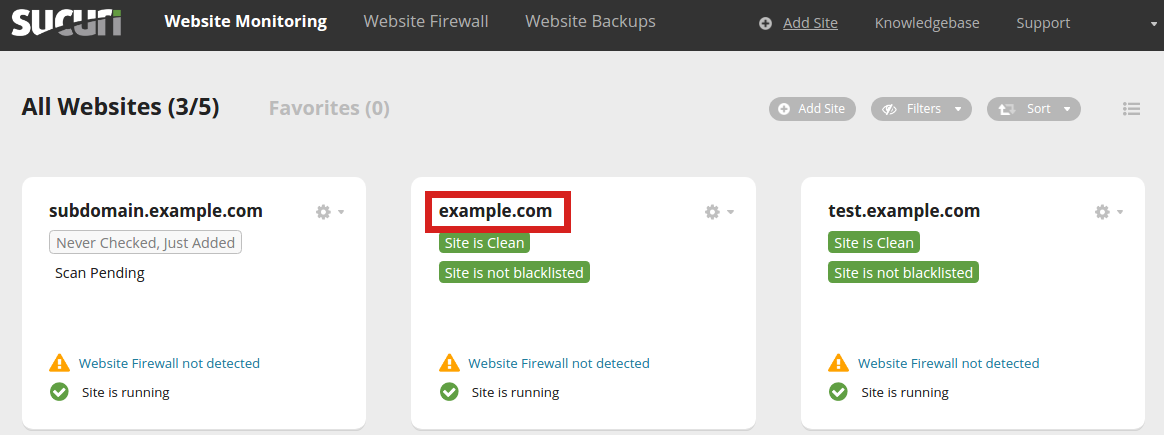 Click the website you want to enable the Firewall for.
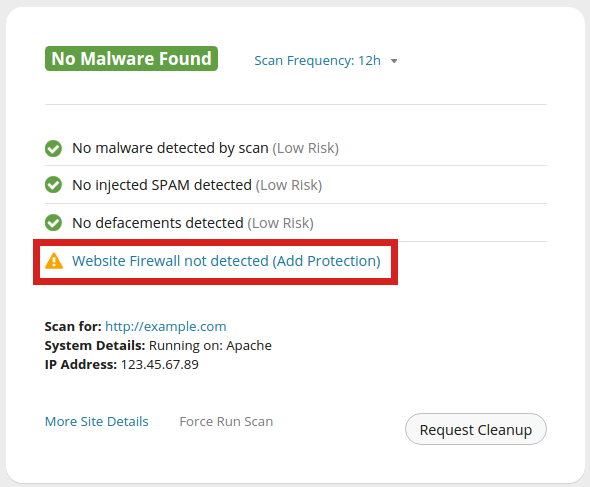 Click Website Firewall not detected (Add Protection)
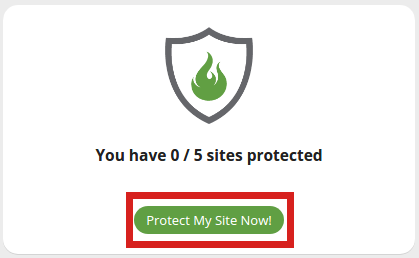 You should then see message stating "You have 0 / 5 sites protected" (this number may differ based on your setup). Click the Protect My Site Now button.
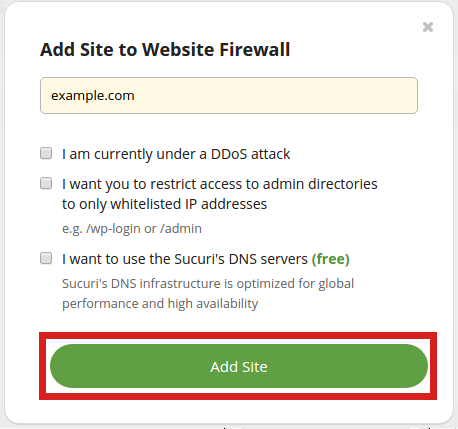 On the "Add Site to Website Firewall" page enter your domain name in the field. Choose from the provided options, then click the Add Site button.
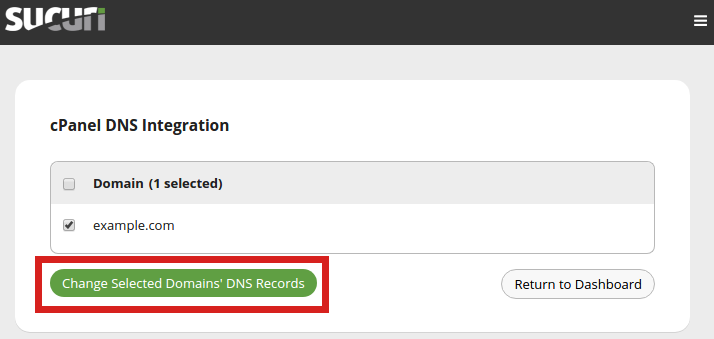 Select your domain on the cPanel DNS Integration page, then click the Change Selected Domains DNS Records button.
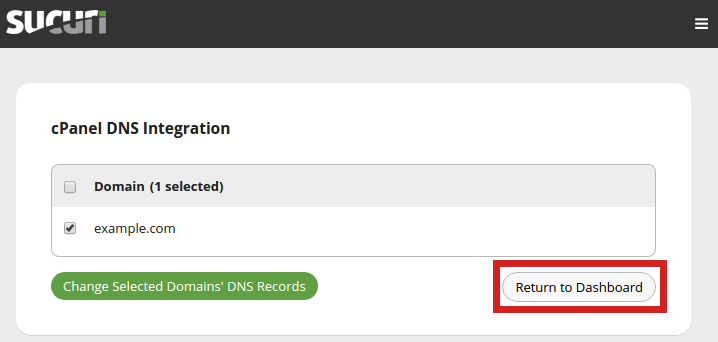 You will then be back on the cPanel DNS Integration page. Click the Return to Dashboard link.
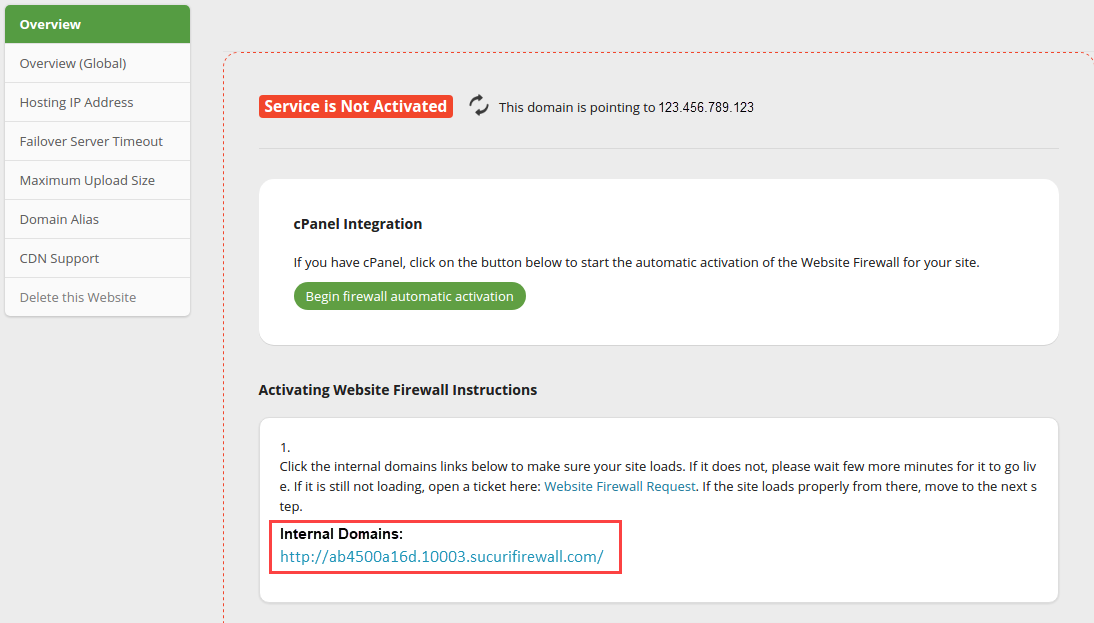 Check the provided Internal Domains link to verify your site is displaying correctly.
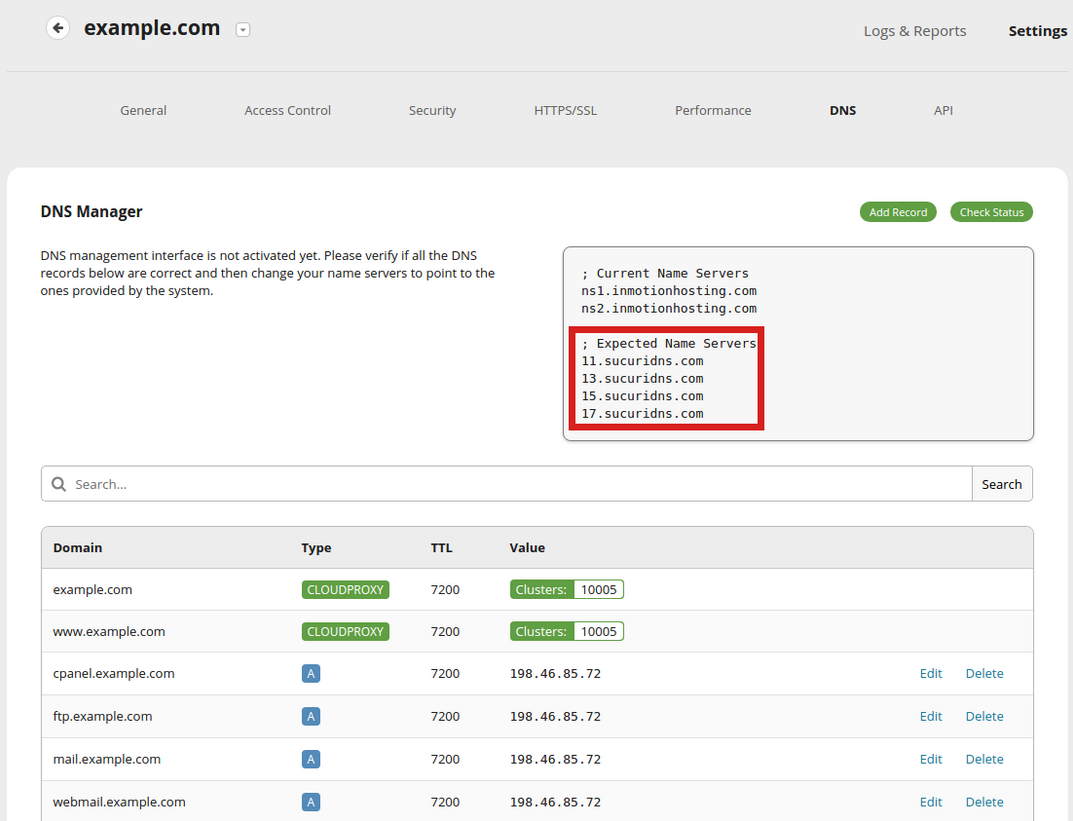 You will see the "Expected Name Servers" from Sucuri. Save them, so we can add them in the next step. Also, make sure your listed DNS entries are correct.
- Update your Nameservers to the ones listed in the last step.
- Changes to the DNS require up to 24 hours to be recognized on the internet.
You now know how to setup website Firewall Protection in Sucuri. Your site will now have an extra layer of protection!
Logging into Sucuri
- Details
- Written by Arnel Custodio
In this tutorial we will show you how to log into the Sucuri Dashboard. From there you can perform important tasks such as adding, or Scanning your website for malware and viruses. Learn more about Sucuri malware cleanup, protection, and monitoring services.
Logging into Sucuri
- Navigate to the Sucuri Login page.
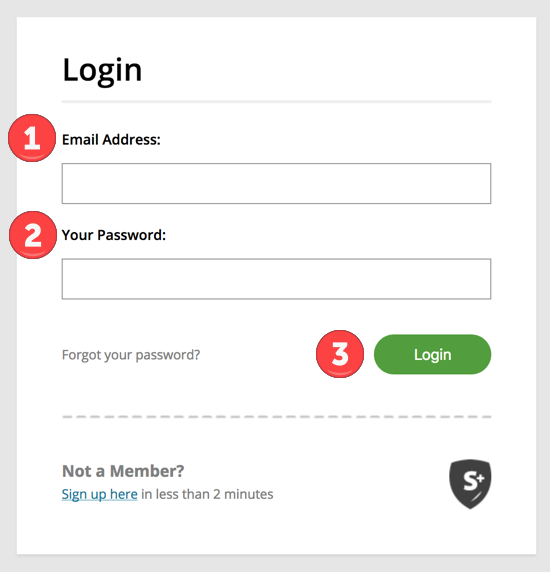 Enter your email address, and password. Then, click the Login button.
You will then be logged into your Sucuri Dashboard.
Congratulations, now you know how to log into your Sucuri Admin Dasbhoard!
