Restoring the Font Color Background option in Wordpress
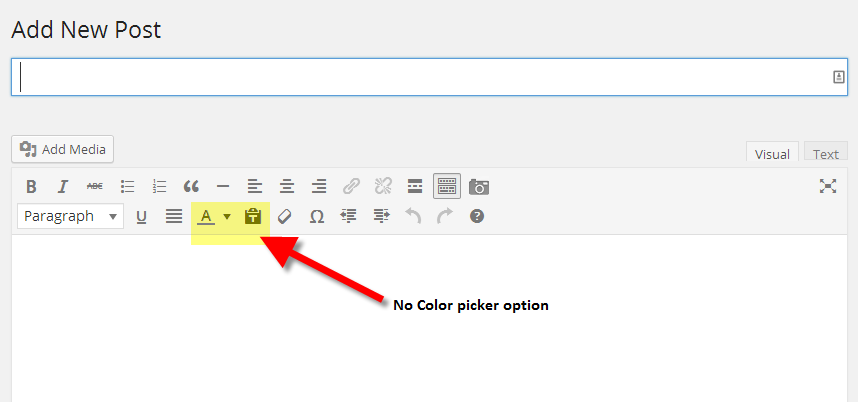
WordPress 3.9 removed the color picker from the Post and Page editor. The TinyMCE color picker plugin brings this option back to the editor. The following tutorial shows how easy it is to install and then demonstrates how to change colors in editor.
Installing the TinyMCE Color Picker
The following installation uses the WordPress plugin from within the WordPress Administrator dashboard
- Login to the WordPress Administrator.
- In the menu column to the left of the screen, click on Plugins, then click on Add New either at the top of the Plugins page, or in the menu column under Plugins.
- In the search field, type "TinyMCE Color Picker", then click on the Search Plugins button.
- Click on Install Now to start the installation process. Click OK to confirm the installation.
- When the installation completes, click on Activate Plugin to turn the on the plugin.

When the Color Picker is active, you can find it in the editor tool bar as per the image below.
 |  |
Using the Tiny MCE Color Picker
The TinyMCE Color Picker allows a user to change the color of the background for their text. This gives your users the ability to choose the color which was previously available in earlier versions of WordPress.
Using the background font color picker is easy. You can either select a background color before you start typing, or select the text after you have completed adding your text to change the color behind the text.
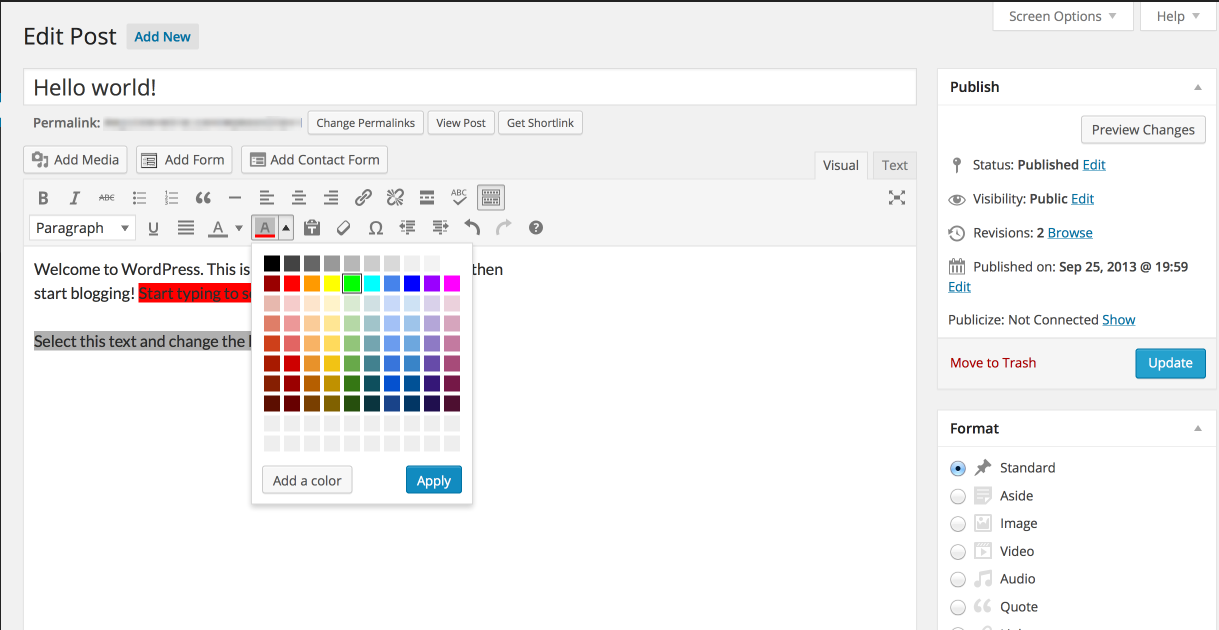
Changing the background color before typing
- Open the WordPress Post or Page Editor
- Click on the space before the area where you want to add text with a particular background color
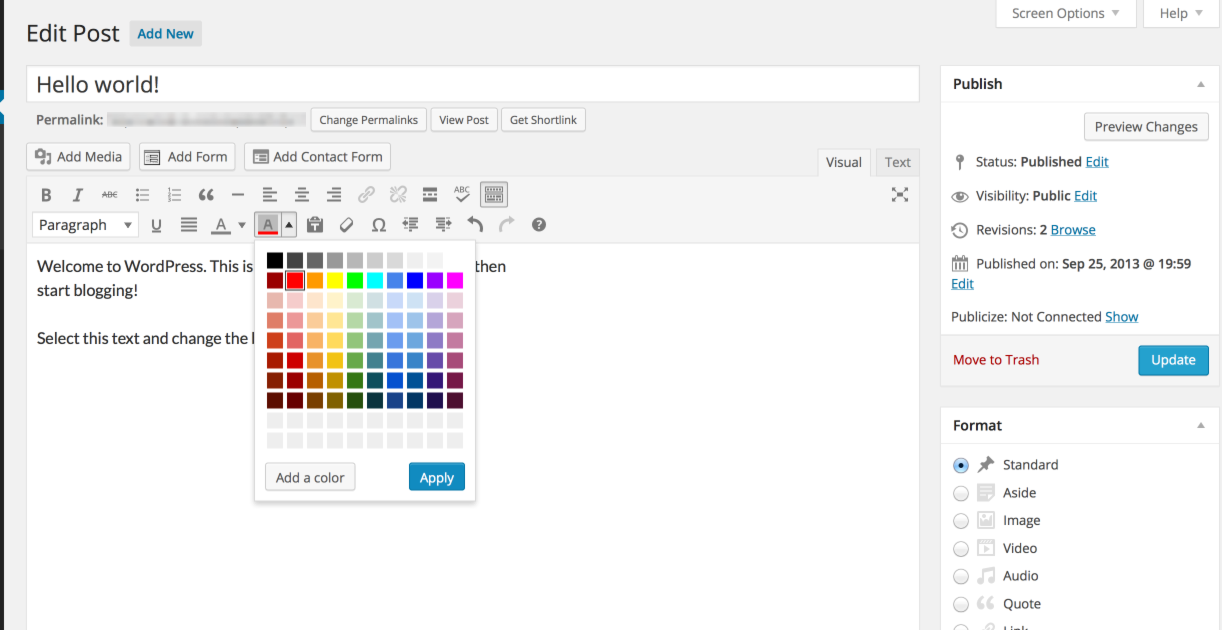
- Click on the drop-down arrow for the background color picker in the TinyMCE editor menu
- Click on the color you want to use, then click on Apply
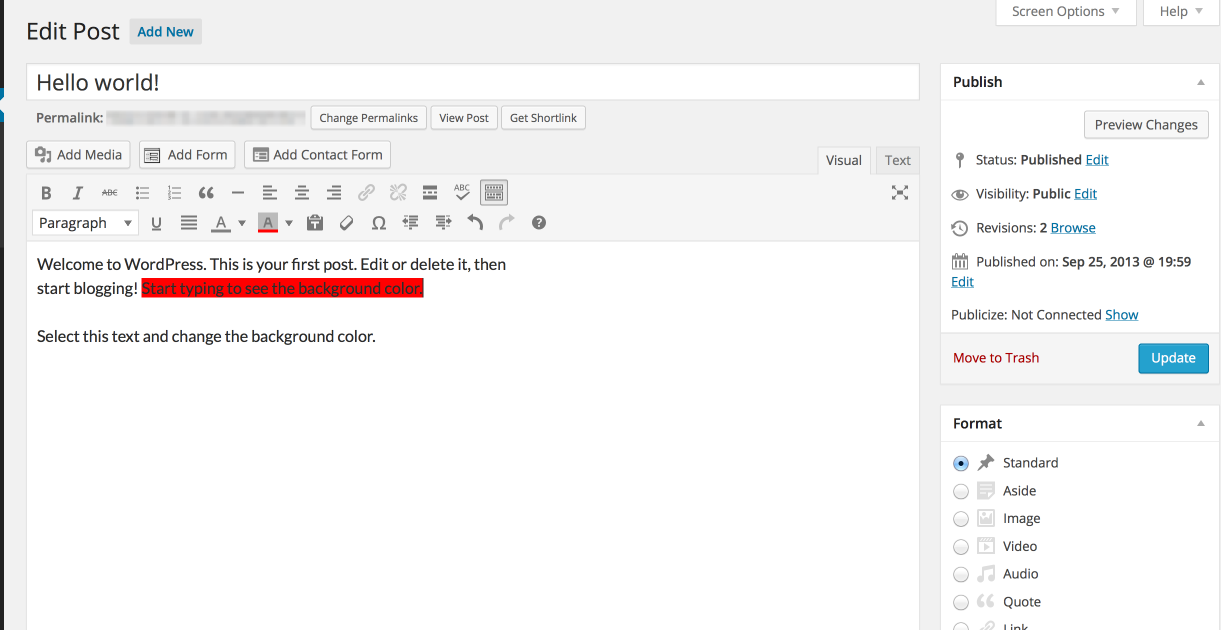
When you start typing, the color for the background will be changed.
Changing the background color by first selecting the text
- Open the Post or Page editor in WordPress
- Select the block of text where you want to change the color
- Click on the drop-down menu of the color picker option in the TinyMce editor
- Click on the color you want to use, then click on the apply button
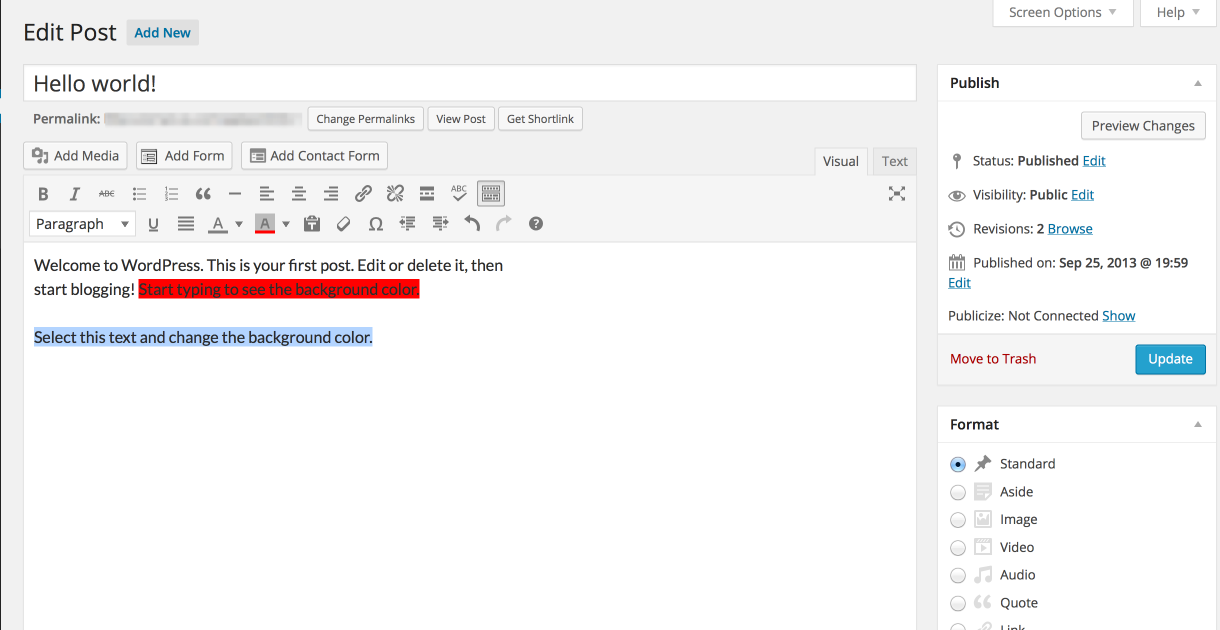
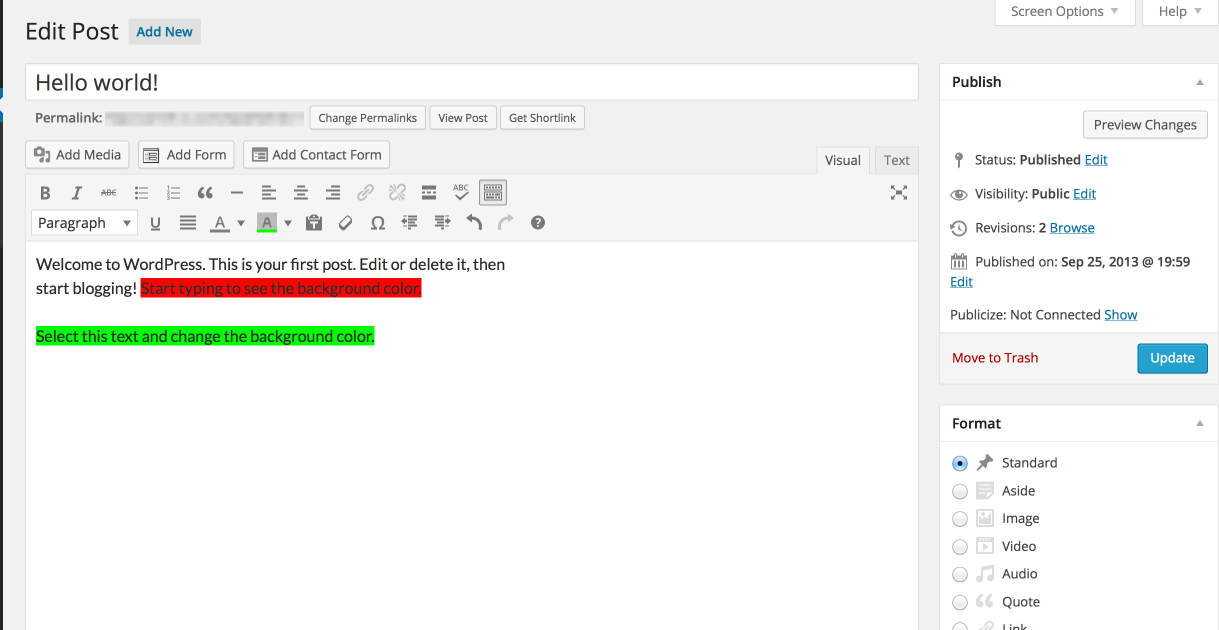
After you apply the color, the background color for the text you have selected will change.
Did you find this article helpful?
Tweet
Category
WordPress Plugins
Help Center Login
WordPress Plugins
Related Questions
Here are a few questions related to this article that our customers have asked:
Ooops! It looks like there are no questions about this page.
Would you like to ask a question about this page? If so, click the button below!

We value your feedback!
There is a step or detail missing from the instructions.
The information is incorrect or out-of-date.
It does not resolve the question/problem I have.
new! - Enter your name and email address above and we will post your feedback in the comments on this page!