Working with Menus in the BoldGrid Customizer
Menus are the main navigation tools you use on a website to get around to different areas of your website. Probably the easiest way to understand menus using the Boldgrid interface is to think of menus as pre-defined groups of menu items. These groups are given a name, and they include a set of menu items that are located within the page. The following tutorial will show you how to change menu locations, rearrange the order of menu items, edit each menu item, add a new menu, and changing menu locations/options using the Customizer.
In This Tutorial:
Menu Locations
Menu locations are dependent on the Inspiration you have chosen. Menu locations can be changed, but are limited to the locations the Inspiration was designed with. The directions below show you how to assign a menu to another location. In the following examples, we are using the BoldGrid Swifty Inspiration.
- Log into your BoldGrid Administrator Dashboard
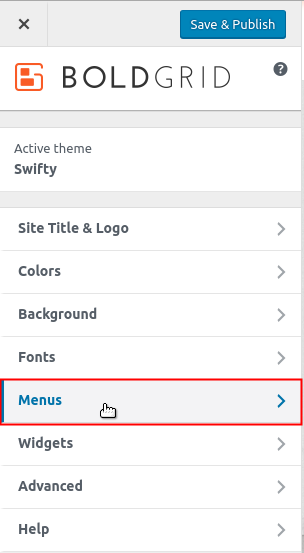 Click on Customize, then click on Menus
-
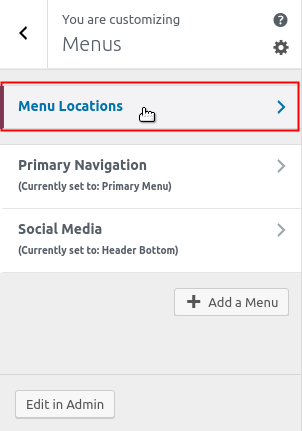
Click on Menu Locations
-
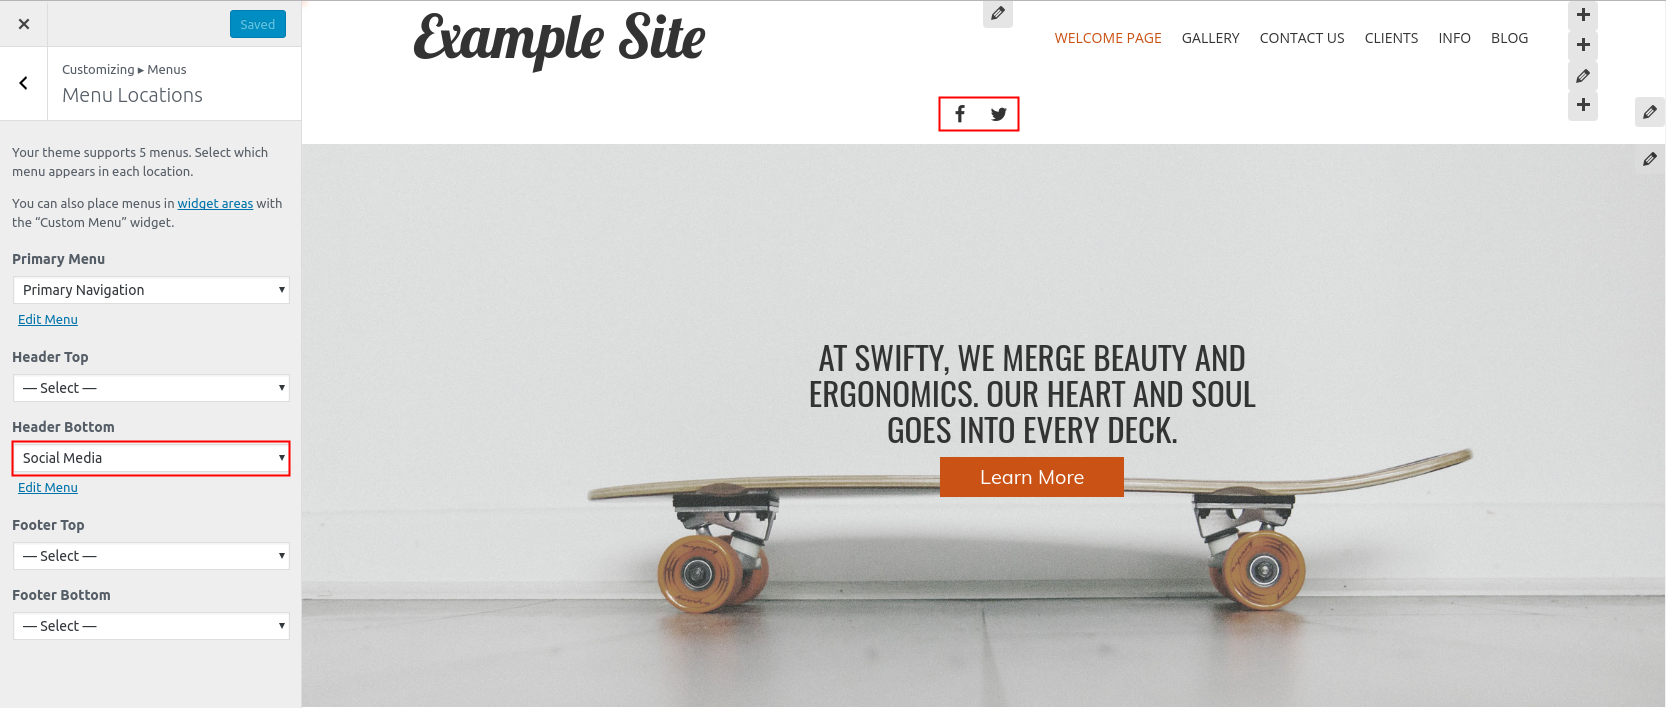
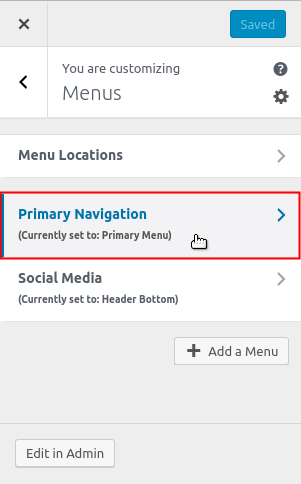
Here you will see the different menu locations available for your Inspiration. Each location has a drop down menu where you can select the defined menu to be displayed. Here you see the Social Media menu is already set in the Header Bottom location. If you want to select a menu you have created, click on the drop-arrow to select your menu.
-
 To remove a menu from a location: Click on the drop down arrow under the location, and click on -Select-
 When you have completed making changes to your menu locations, click on Save & Publish at the top of the screen to save your changes.
Editing Existing Menus
When you are working with BoldGrid Inspirations, you will see menus that have been created for each pre-built website. The Customizer lets you modify these existing menus. You can change the order of the menu items, change the individual properties of each menu item, add new menu items, and change the menu location. You can also set the menu to automatically add top-level pages to the menu. The following directions provide you a general overview of how to use each option.
Changing the Order of Menu Items
As mentioned previously, each menu is actually a set of menu items. These menu items are normally in a particular order. You can easily change the order using the Customizer.
- Log into your BoldGrid Administrator Dashboard
- Click on Customize, then click on Menus

Click Menu Locations. Then you will see a list of the existing menus. Click on the menu where you wish to change the order of the menu items.
-
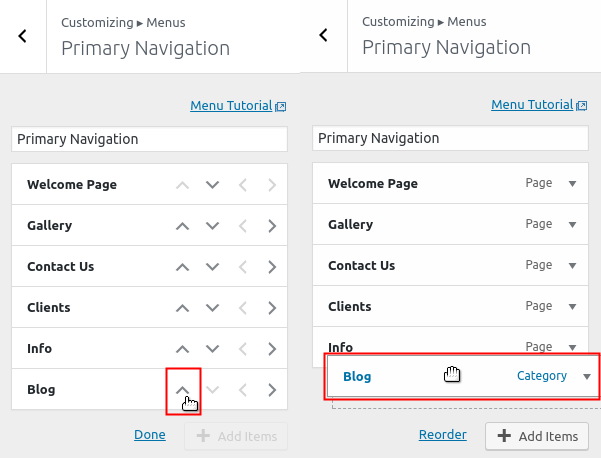
When you click on the menu, you will see the menu items that make up that menu. There are two ways to change the order of menu items. You can click on Reorder at the bottom of the menu item list and use the arrows that appear next to each menu item name to change the position. You can also use your mouse to click and drag menu items. Reorder your menu items per your preferred method.
- Once you're satisfied with the order of your menu items, then please click on Save & Publish at the top of the Customizer.
Editing Each Menu Item
Each menu item can also be individually edited so that you can change properties of that item. For example, you can change the name of the menu item. For this tutorial we will be looking at how to change the name of the menu item.
- Log into your BoldGrid Administrator Dashboard
- Click on Customize, then click on Menus
-
Here, you will see a list of the existing menus. Click on the menu that you wish to edit.
-
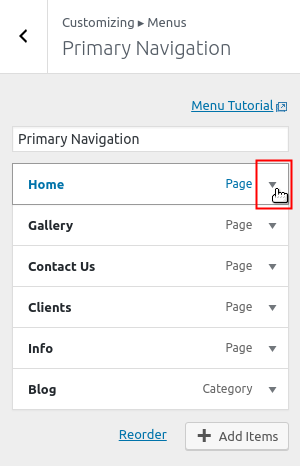
When you have opened a menu to edit, you will see a list of the existing menu items. Click on the drop-down arrow to the right of the menu item name that you wish to change.
-
When you open the details for any particular menu item you will see the name of the menu item at the top of the list. You change the name of the menu item by simply clicking in the field labeled Navigation Label and then typing a new name. You can also click into the Title Attribute field to set a title for your menu item.
- In order to save any of your changes, click on Save & Publish at the top of the Customizer.
Note: If you feel that you have made a mistake in your changes and you do not want to save anything you've done, then close the Customizer by clicking on the "x" in the top of the Customizer. You will be prompted to confirm that you want to leave the page and not save anything.
Adding New Menu Items
You can change menus by adding items. These items can be pages, posts, categories, tags, or custom links. Follow the directions below to add new menu items to your menu.
- Log into your BoldGrid Administrator Dashboard
- Click on Customize, then click on Menus
-
Here, you will see a list of the existing menus. Click on the menu that you wish to edit.
-

When you have opened a menu to edit, you will see a list of the existing menu items. At the bottom of the menu, you will see a button that says +Add items. Click on this button to add a new menu item.
- When you select an item to add to your menu, you will need to fill in the necessary information such URL link, or select a specific page that you can use for the menu item. Add your new menu item, then click on Save & Publish in order to save the changes to your site.
Changing Menu Location and Menu Options in Menus
Menu locations can be changed in two different locations. We described Menu locations at the beginning of this tutorial, and we will show how can change them when editing individual menus. There is also a menu option that allows you automatically add menu items when pages are added to your website.
- Log into your BoldGrid Administrator Dashboard
- Click on Customize, then click on Menus
-
Here, you will see a list of the existing menus. Click on the menu that you wish to edit.
-
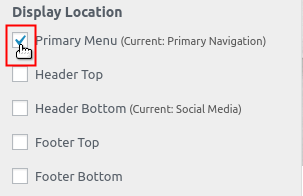
Scroll down until you see the Display Location section. Here you can change the location of the menu by simply clicking on a location check box. Click on the location(s) you wish to use.
-
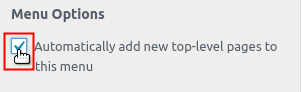
If you scroll to the bottom of the Menu page, you will see Menu Options. There is only one option there and it allows you to automatically add menu items to your menu when a new (top-level) page is added to your website. Click on the check box to enable this item.
- Once you have finished editing your menu location and/or adding the menu option, click on Save & Publish at the top of the Customizer in order to save any changes.
You can also find many other tutorials on using BoldGrid within the BoldGrid Support Center.
Did you find this article helpful?
Tweet
Category
Using the Customizer in Boldgrid
Comments

n/a Points
|
2016-10-05 1:18 pm
Can you add drop down menus? |

361 Points
|
2016-10-05 2:18 pm
Yes, you would nest the menus in Customizer. Dropdown menus are native to WordPress.
|
Help Center Login
Using the Customizer in Boldgrid
Related Questions
Here are a few questions related to this article that our customers have asked:
Ooops! It looks like there are no questions about this page.
Would you like to ask a question about this page? If so, click the button below!

We value your feedback!
There is a step or detail missing from the instructions.
The information is incorrect or out-of-date.
It does not resolve the question/problem I have.
new! - Enter your name and email address above and we will post your feedback in the comments on this page!