Adding a Language in Zen Cart
 In this tutorial we will show you how to add an additional language in Zen Cart, which allows you to change the default language of the Admin panel for Zen Cart. This is helpful when you have developers who speak different languages working on the site because it allows them to select their preferred language from a drop-down menu.
As a test we will add the Spanish language to a Zen Cart powered site.
A Language Pack for the language you are adding is required to complete this guide.
How to Add a New Language:
- Extract the language pack to your local computer.
- Using FTP upload the files to their specific folder, see the explanation below.
Zen Cart advises: Make sure the language files and directories are uploaded to the appropriate places, which are:
includes/languages/<your language>.php
includes/languages/<your language>/
admin/includes/languages/<your language>.php
admin/includes/languages/<your language>/
includes/templates/template_default/buttons/<your language>/
In my tests they were:
includes/languages/spanish.php
includes/languages/spanish/
admin/includes/languages/spanish.php
admin/includes/languages/spanish/
includes/templates/template_default/buttons/spanish/ - Login to the Admin Panel for Zen Cart.
- In the menu roll your mouse over Localization, and click Languages.
- Click the new language button.
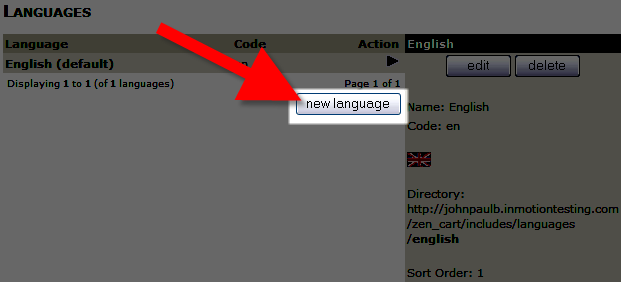
The New Language menu will open with several fields available.
Fill them in as needed, below is a description of the options.
Option Description Name: Enter the name of your new language here. Code: Enter the 2-digit ISO 639-1 language code. Image Enter the name of the icon from the language pack, this will most likely be:
icon.gif
Directory Enter that name of the language directory, be sure to use capital letters if the folder name is in capitals. For example:
spanish, not Spanish
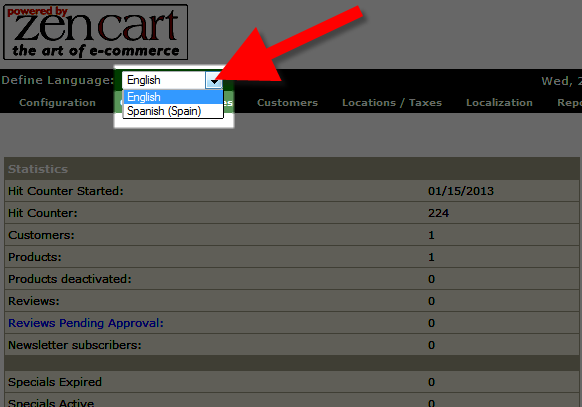
Sort Order The number you enter here will affect where this option will display on the Languages list. Zero will be at the top of the list, and higher numbers will be further down the list. Set as default Check this box to make this your default language. After entering your selections, click the insert button. Now you will be able to select your new language from a drop-down menu after logging into the Zen Cart Admin panel.
Congratulations, now you are able to add a language to your Zen Cart site.
Did you find this article helpful?
Tweet
Category
Advanced Zen Cart Tutorials
Help Center Login
Advanced Zen Cart Tutorials
| 1. | Putting Your Zen Cart Site in Maintenance Mode |
| 2. | Setting Up Your Store Information in Zen Cart |
| 3. | Adding a Language in Zen Cart |
| 4. | Edit the Successful Checkout page in Zen Cart |
Related Questions
Here are a few questions related to this article that our customers have asked:
Ooops! It looks like there are no questions about this page.
Would you like to ask a question about this page? If so, click the button below!

We value your feedback!
There is a step or detail missing from the instructions.
The information is incorrect or out-of-date.
It does not resolve the question/problem I have.
new! - Enter your name and email address above and we will post your feedback in the comments on this page!