Setting Tags for Products in PrestaShop 1.5
The tags are collection of words that can be used to relate links to products within your e-commerce store. Typically, they are used help quickly narrow a broad search. In other words, you will be able to use a general term that in turn will link to your product . The following tutorial will show you how create tags and use them within PrestaShop 1.5.
How to Add Product Tags in PrestaShop 1.5
- Login as an Administrator then go to the Menu Bar and hover over CATALOG.
- Select TAGS when the drop-down menu appears and you will see the following:
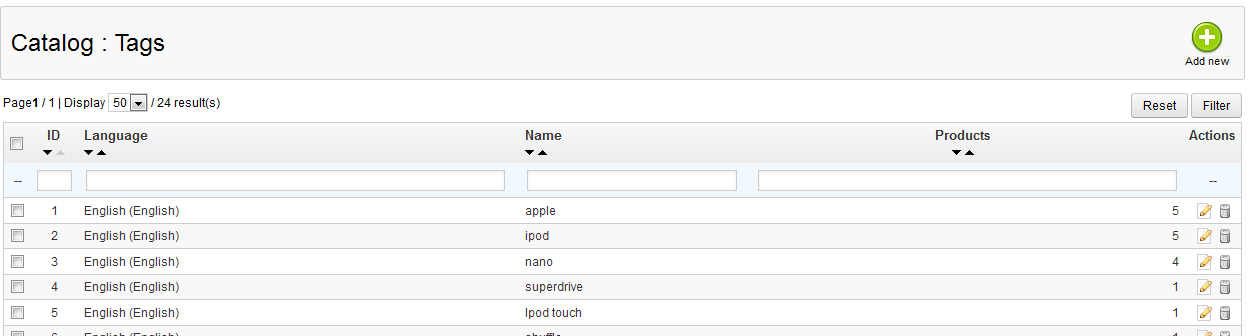
If you have tags already created, you will see a list of them. Otherwise, you will need to click on ADD NEW in order create a new one. Click on EDIT in order change an existing tag and you will see the following screen: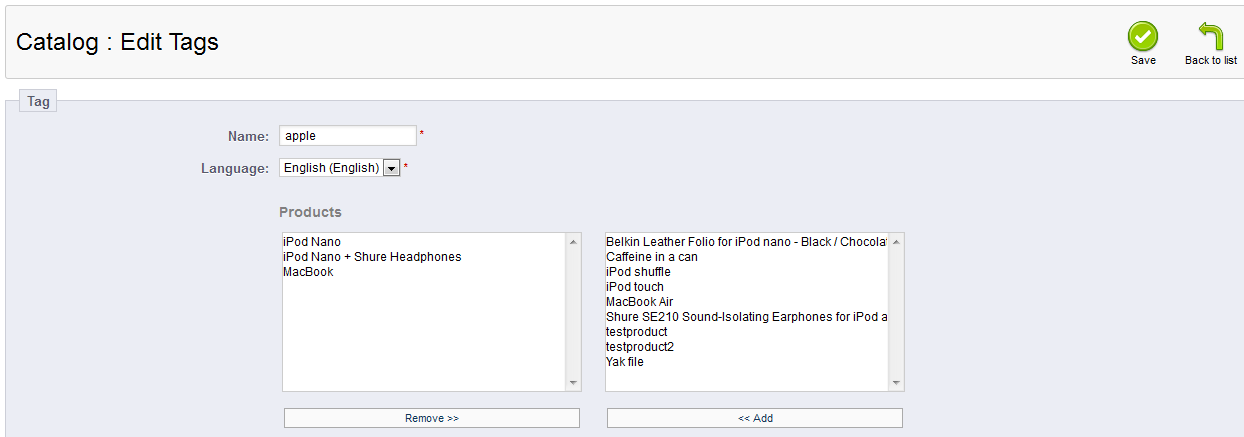
The TAG is the name that you specify. In the example screenshot above, the NAME is the same as the manufacturer name for the products below. NAME and LANGUAGE are required to be specified for the TAGS before it can be saved. In this case, the TAG is "apple" and all of the products below are associated to the name. Create or modify your tags so that the tag you selected is properly associated with the products in your inventory. - Select SAVE in the top right hand corner to save your TAG definition when it is complete.
TAGS are very common in internet and are often used to quickly find popular terms that are associated with a particular subject. Prestashop allows you to use TAGS in the same way so that you can quickly find products that you may wish to purchase. Here's an example of tags used in the shop front:
Did you find this article helpful?
Tweet
Category
Configuring SEO for PrestaShop 1.5
Help Center Login
Configuring SEO for PrestaShop 1.5
Related Questions
Here are a few questions related to this article that our customers have asked:
Ooops! It looks like there are no questions about this page.
Would you like to ask a question about this page? If so, click the button below!

We value your feedback!
There is a step or detail missing from the instructions.
The information is incorrect or out-of-date.
It does not resolve the question/problem I have.
new! - Enter your name and email address above and we will post your feedback in the comments on this page!