Creating Product Categories in PrestaShop
Before you begin adding your products in PrestaShop, you will first want to create categories for those products. It's best to take at least a few minutes and think about the products you will be offering on your site and how best to organize them. Once you have your products organized into meaningful categories, you can begin setting up those categories in the PrestaShop back office.
- If you are not already logged in, begin by logging into your PrestaShop back office.
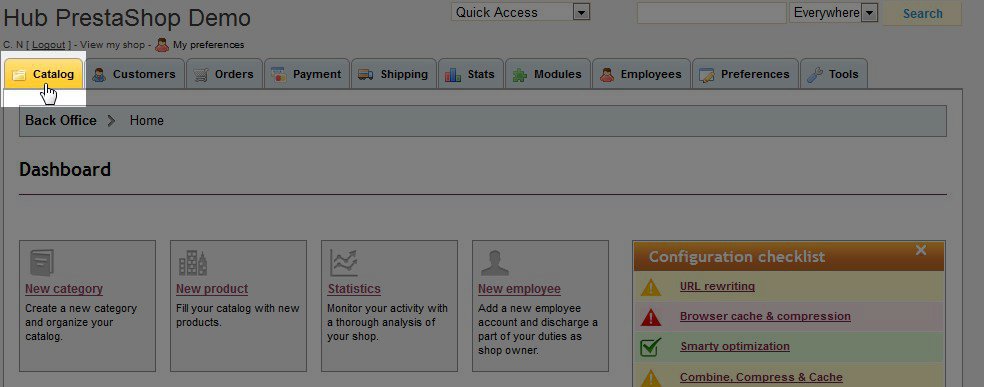
- Select the Catalog Tab.
- If you chose the "full" option during the initial PrestaShop installation you will see a few demo categories that were created. You can leave those for now as examples and delete them once you're comfortable with creating and editing categories.
- To create your new category, click the Add a new subcategory link. Keep in mind that even your top level categories are considered a subcategory of "Home" in PrestaShop.
- Fill in the information for the category you are creating.
Category Name Your new category name Displayed Keep this checked unless you are not ready to show this category on your site Parent category To create this category as a top level category, choose Home. If you want this to be a subcategory of another category, select that category in the list shown. Description Enter in a description of the category (optional) Image Click the Browse button to upload an image to represent this category. Meta title Enter in the title you want displayed in the browser's title bar for this category. Most people will set this to the category name. Meta description This is the description that will usually show beneath the page title in search engine results where your category page appears Meta keywords While most search engines do not use Meta keywords in their search algorithms, you can set keywords here for the any that do. Friendly URL If you enabled SEF URLs, PrestaShop will automatically create a SEF URL based off of the category name you enter. You can change this as needed by removing words or adding words to the URL. Be sure to separate words with a hyphen (-) between each word. Customer group access Leaving this set to the default group should be fine for most users - Click the Save and back to parent category button to be returned to your list of categories.
Continue adding any additional categories you need for your shop. Once you have created all the needed categories in PrestaShop, you can begin adding products into your categories. If you want to create attributes or features for your products, please see our article on Understanding Product Attributes and Features before you begin creating your new products.
Did you find this article helpful?
Tweet
Help Center Login
Managing Products and Categories in PrestaShop
Related Questions
Here are a few questions related to this article that our customers have asked:
Ooops! It looks like there are no questions about this page.
Would you like to ask a question about this page? If so, click the button below!


We value your feedback!
There is a step or detail missing from the instructions.
The information is incorrect or out-of-date.
It does not resolve the question/problem I have.
new! - Enter your name and email address above and we will post your feedback in the comments on this page!