Installing Prestashop 1.5
Prestashop is a free ecommerce solution that has matured and gained popularity in recent years. The following installation guide assumes that you are at least familiar with navigating through your website files in your website installation, and creating a MYSQL database using the Cpanel interface options found in Web Hosting Hub's hosting servers. If you need more information on how to upload and change your website files, please go to the following link:
Updates to the Prestashop 1.5 Installation
The latest stable version of PrestaShop is currently 1.5.3.1 (released 3 days after 1.5.3.0). Here's a brief summary of what was changed:
- Change the default mail color (using HTML colors only)
- Allows smarty var $logo_url to have the mobile logo image if mobile version is present
- Over 250 updates and fixes to reported bugs
Go to Prestashop 1.5.3.1 Changelog for detailed information about the changes.
To update use the 1-click Update in Prestashop for quickly updating. Or manually install the upgrade by obtaining the updated files here: Prestashop v1.5.3.1.
Guide to installation of PrestaShop 1.5
- Go to the PrestaShop website and then download the installation file. You will need to click on the Community menu,and select DEV/OLD/SVN Versions. This will allow you to download the 1.5.09 version which is still in Beta at this time. Make sure you know where you saved the file.
- Using the FTP client OR the Cpanel File Manager, navigate to the location that you intend to use to run the OpenCart store. If you intend to use it with your primary domain, then you need to go to the public_html folder. If your desired URL will be something like "http://mywebsite/store" then you will need to move to the folder where you will be uploading the files for the installation. In the example above, the folder you would be opening is the STORE folder.
- You can then use an FTP client or File manager to upload the file. Note that the file that you have uploaded is a zipped file. You can either unzip the file on your desktop system or select it in the File manager and then unzip the file.
- Prestashop 1.5 creates a Prestashop folder which will be the location of the files for th e installation. You may need to move the files OUT of the folder and into the actual installation folder that you are using.
For example: You may have uploaded the files into the PUBLIC_HTML folder, but upon EXPANDING the file, the Opencart installation files will be in an Prestashop folder. So the path to the installation files would look like this:
/public_html/prestashop
You will need to use the File Manager or the FTP client to move the files so that they are no longer in the upload folder. The files must only be the /public_html folder.
- The next stage of the installation for Prestashop 1.5 involves the setup of the database
A. Select MySQL databases, then go into Setup a blank database - name it something appropriate. Remember that all of your databases will automatically be prefixed with your Cpanel user name.
B. Moving down the screen go to the User section and create a new user. The user name will also be prefixed by the Cpanel user name. SECURITY REMINDER - DO NOT USE YOUR USER NAME AND PASSWORD USED FOR YOUR WEB 0HOSTING ACCOUNT.
C. Make sure to write down both the database name, user name and password so you don't forget it.
D. Next, select the user from the dropdown menu and the database that you created earlier. ASSIGN the user to the database that you created. When you assign the user, you will have an option to select the rights for the user. Typically, just assign them all. This will complete your database setup. - Go to the URL that you are using for the store home page to start the Prestashop online installation portion. This also sets up the database contents.
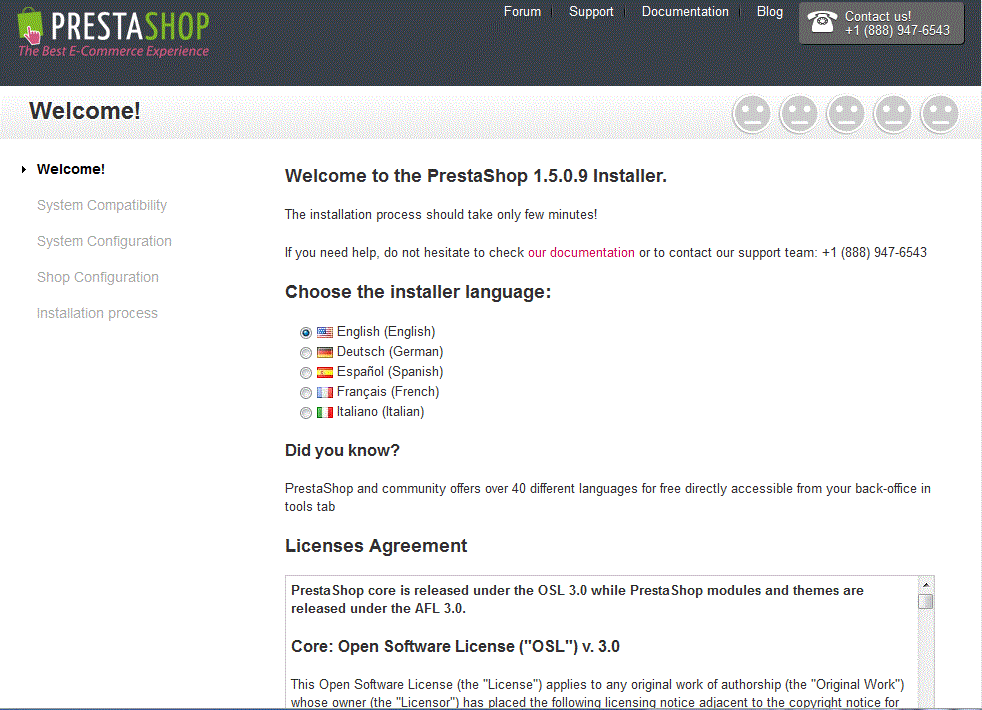
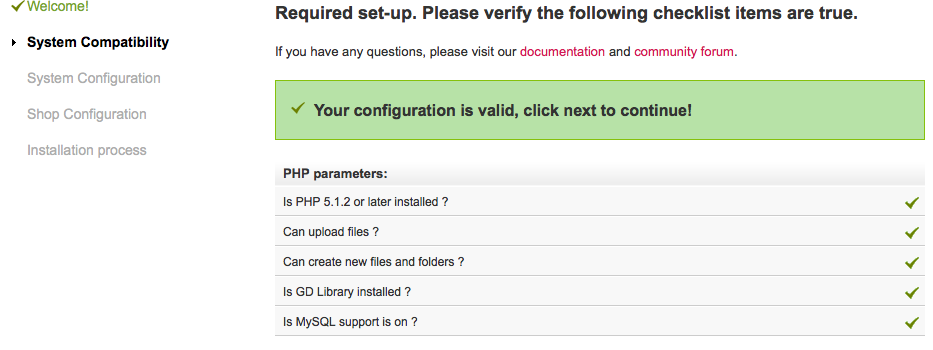
After agreeing to the license agreeement above, you will be following the online installation screens: - Check on system requirements. Click on the green NEXT button at the bottom of the screen to continue.
- Configure the database and the email used by Prestashop to send you messages. In order to configure the database, make sure you are using the information you used in step 5 to create the database and the user. The default values for the server address are set to "localhost" which is correct.

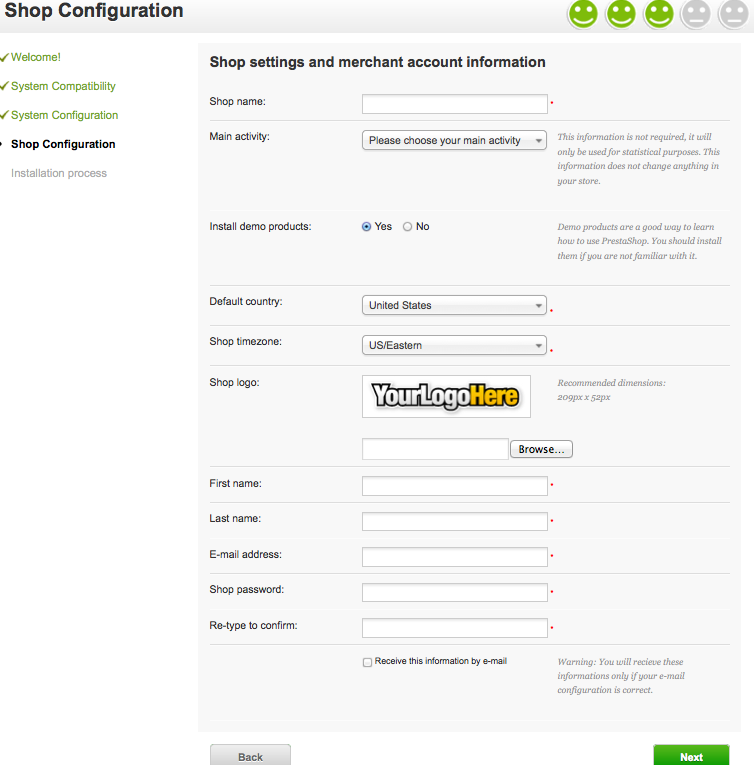
- Next are the Shop Settings. Here you can set your Prestashop name, add your company logo. Note that the logo must fit within the 209x52 pixel dimensions.
- Once you have completed this screen, you have completed the installation of Prestashop 1.5! The last request is in regards to deleting the INSTALL folder. You should do this for security purposes using either the File Manager or FTP client. You can then login to Prestashop and get your online store going!
To advance to the next course, go to How to login to the PrestaShop 1.5 Administration Panel as An Administrator.
If you need to see a summary of the courses in this class, please go to 101: Getting Started with PrestaShop 1.5.
Did you find this article helpful?
Tweet
Category
Getting Started with Prestashop 1.5
Help Center Login
Getting Started with Prestashop 1.5
Related Questions
Here are a few questions related to this article that our customers have asked:
Ooops! It looks like there are no questions about this page.
Would you like to ask a question about this page? If so, click the button below!

We value your feedback!
There is a step or detail missing from the instructions.
The information is incorrect or out-of-date.
It does not resolve the question/problem I have.
new! - Enter your name and email address above and we will post your feedback in the comments on this page!