Understanding the 1-Click Upgrade Configuration in PrestaShop 1.5
The 1-Click upgrade process simplifies many of the processes by consolidating them into a list in the configuration screens for the module. This configuration screen contains many items that require explanation so that you can make the proper decision on the setting. The following article explains the configuration screen of the 1-Click Upgrade module in PrestaShop 1.5.
Detailing the Configuration Screens for the 1-Click Upgrade Module in PrestaShop 1.5
You will first need to reach the configuration screen. Here are the steps to get to that location:
- Login to the Administrator Dashboard
- Hover over the menu bar where you see MODULES. When the drop-down menu appears, click on MODULES.
- When the MODULES screen appears, click in the SEARCH field and type "1-click-upgrade". Click on the button labeled SEARCH in order to perform the search. When the search finishes you should see this:
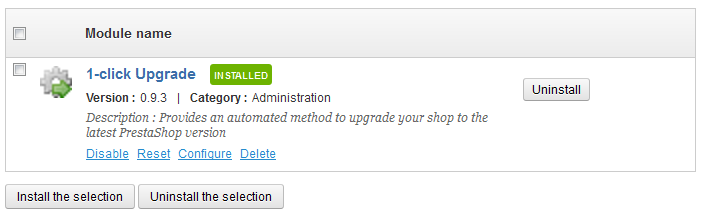
- When you click on CONFIGURE you will see the following screen:
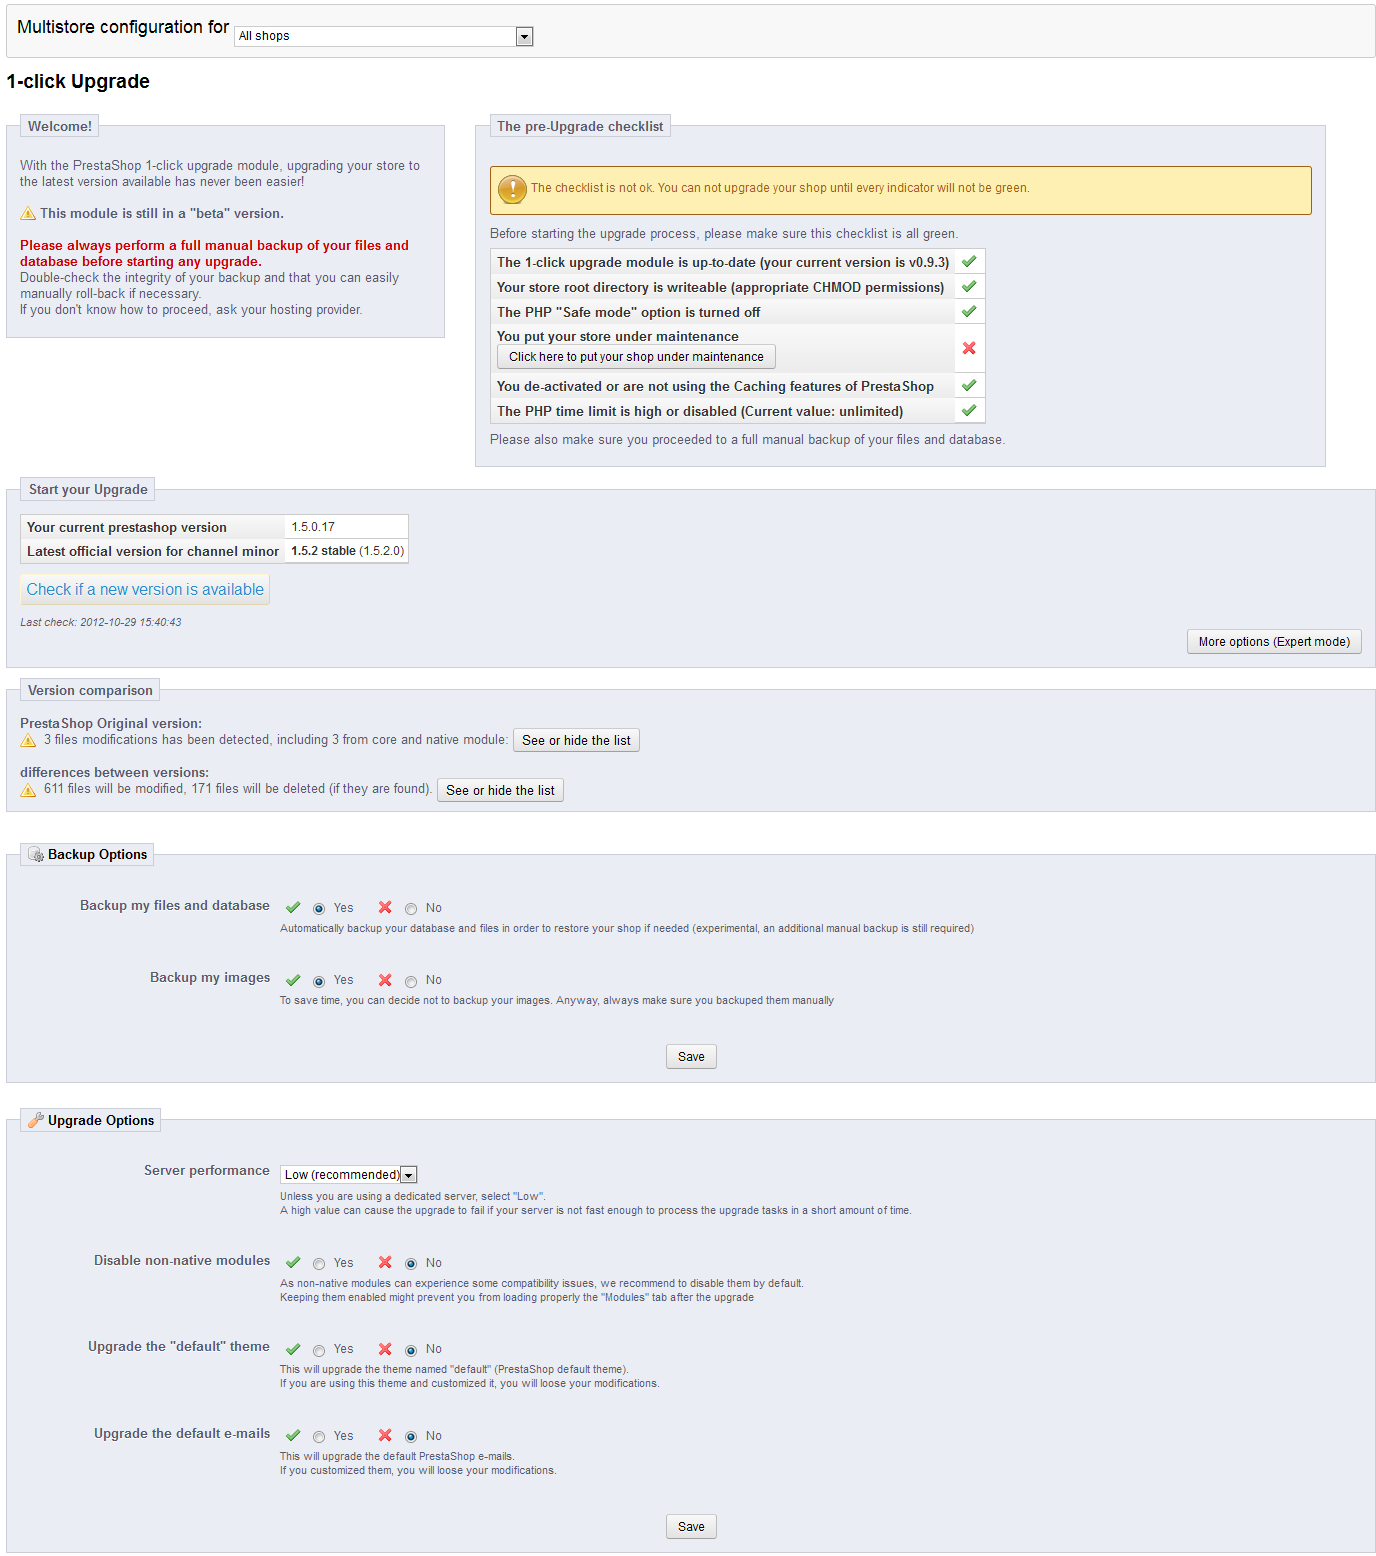
The rest of this tutorial will discuss these sections in detail.
WELCOME
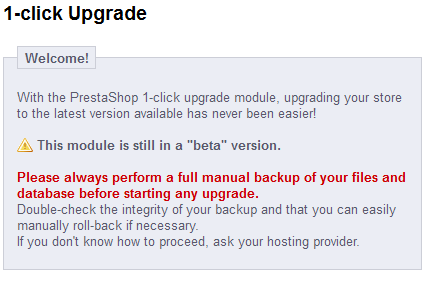 |
The Welcome screen includes some important information about the 1-click Upgrade module. In this case, the message states that the module is still in beta. It also reminds you that your backups should be manually created. If you are not familiar with your backup process, then you should take the time to understand how it operates from the Cpanel or server-side. You can also setup your backups to occur through third-party services as long as it meets your backup needs or requirements. |
PRE-UPGRADE CHECKLIST
The Pre-Upgrade Checklist contains the items that are required to be checked green before the upgrade can proceed. The list containst the following:
|
 |
When this option is completely green, then the next option will allow you to start the upgrade, otherwise you would see the following screen:
START YOUR UPGRADE
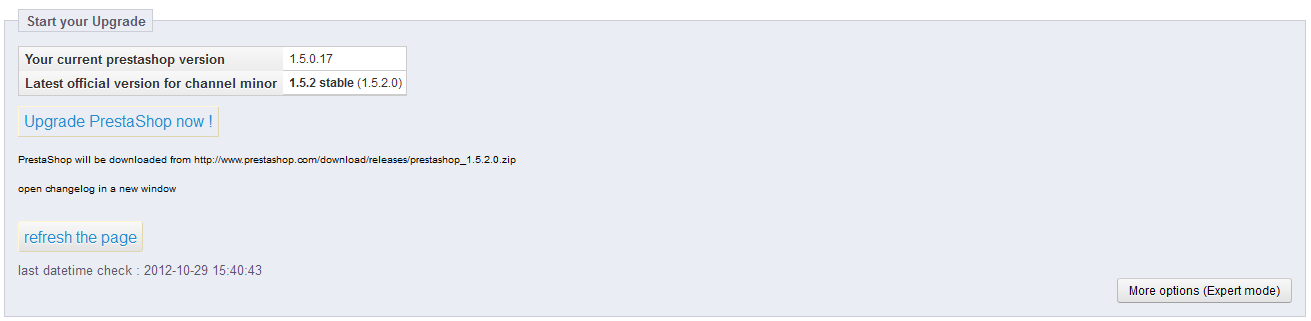 |
This section has a few details that should be noted. It starts with the current PrestaShop version (1.5.0.17) and compares it to the latest release (1.5.2.0). If the pre-Upgrade checklist requirements have been met then you will see the UPGRADE PRESTASHOP NOW button below the version comparison. Note the options in tiny print: Prestashop will be downloaded from http://www.prestashop.com/download/releases/prestashop_1.5.2.0.zip and there is an option to open the changelog in a separate window. This information is important in that it tells you that the upgrade files are coming directly from PrestaShop's website. Therefore, your connection to the internet should not be overly slow or interrupted. You can also view the changes that have been made with the latest version. Below these items, you have a REFRESH THE PAGE option which will update the datetime check as well as the version comparison section which is detailed below. EXPERT MODE Note that there is also an EXPERT MODE button in the bottom right hand corner of this section. Here's what you will see if you click on this button: |
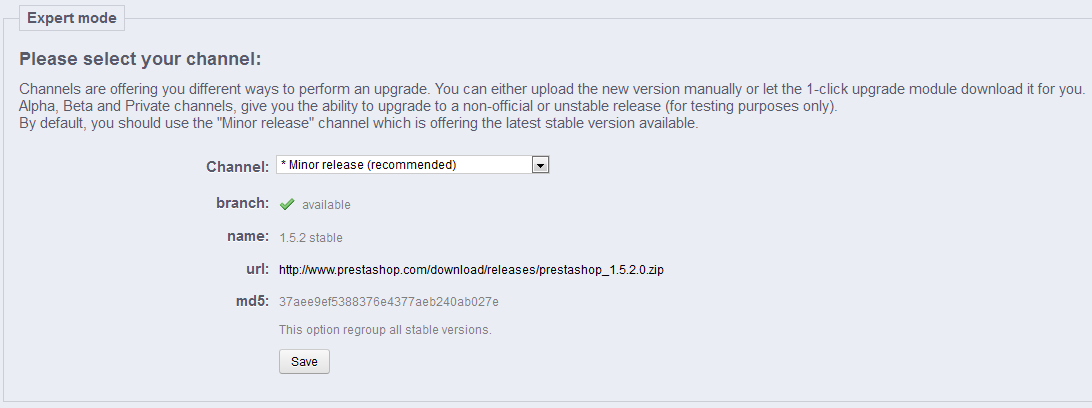 |
The expert mode has the option for CHANNELS which allows you to upgrade to a non-official or unstable release. You can also choose to load the version from a local directory if you have manually downloaded the updated file. Here are the options in the drop down for the CHANNEL option: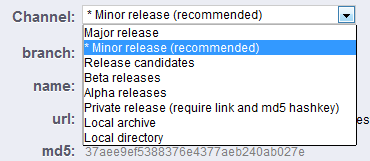
| BRANCH | Indicates if there is a version available (it verifies that the 1.52 version is available) |
|---|---|
| NAME | Indicates the name of the branch available |
| URL | Indicates the path used to obtain the version |
| MD5 | Code key used to obtain version |
| SAVE | Button to save option selected |
VERSION COMPARISON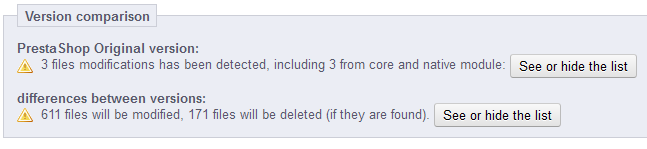
The version comparison section simply compares the files in regards to the existing version and also the actual differences between the version to which it will be upgraded. You have the option to view the list. This is especially useful if there are custom files being used so that they can be quickly identified and manually changed as necessary.
BACKUP OPTIONS
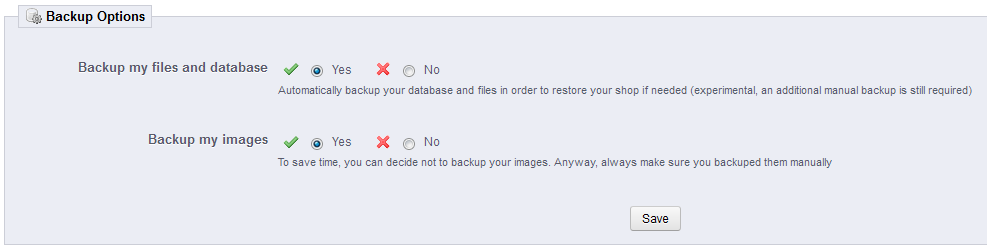
The options presented by the Backup Options allow you to choose to automatically backup shop database and files, or to simply save the images. Even with these options (and note that PrestaShop labels the first option as "experimental"), you should manually backup your installation so that you can restore the files if something goes wrong. The SAVE button simply save your backup option selections.
UPGRADE OPTIONS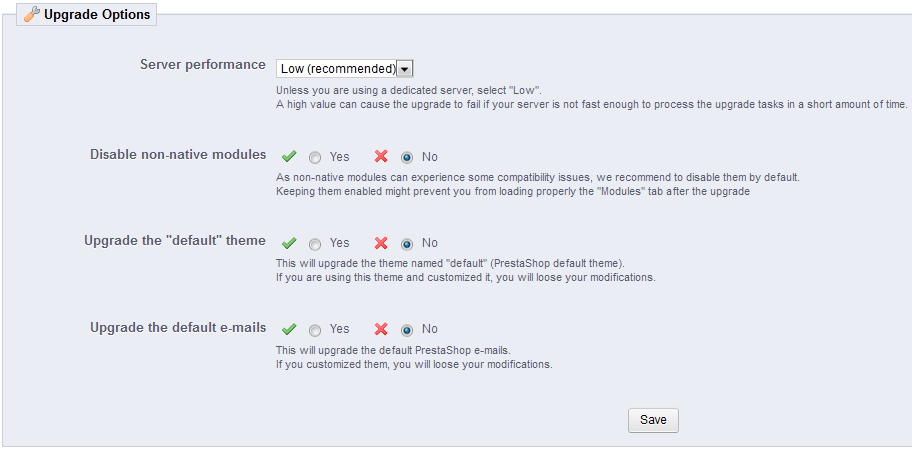
| Server Performance | This determines the server performance at the time that the upgrade is occuring. On a shared server(such as with Web Hosting Hub), this should always be set to LOW. You the options of high, medium or low. As per the note, if the value is high, there is a possibility that the upgrade will fail if the server cannot upgrade fast enough |
|---|---|
| Disable non-native modules | If you have non-native modules, extensions, add-ons, custom programming, then it is recommended that you turn them off in order to prevent possible conflicts |
| Upgrade the "default" theme | Upgrades the default PrestaShop theme; note that if you have customizations, then they would be lost |
| Upgrade the default emails | Upgrades the default PrestaShop emails - if there are any custom emails, then they would be lost |
Once you have selected your upgrade options, then make sure to click on SAVE in order to save your entries.
Did you find this article helpful?
Tweet
Category
Getting Started with Prestashop 1.5
Help Center Login
Getting Started with Prestashop 1.5
Related Questions
Here are a few questions related to this article that our customers have asked:
Ooops! It looks like there are no questions about this page.
Would you like to ask a question about this page? If so, click the button below!

We value your feedback!
There is a step or detail missing from the instructions.
The information is incorrect or out-of-date.
It does not resolve the question/problem I have.
new! - Enter your name and email address above and we will post your feedback in the comments on this page!