Installing the 1-Click Upgrade in PrestaShop 1.5
PrestaShop offers the option to use a 1-click upgrade module. Like any module in Prestashop, this module must be loaded into the interface before usage is available. PrestaShop offers this module freely, provided that you create an Add-on account in the PrestaShop website. The following article explains how to obtain and install the 1-click Upgrade option in PrestaShop 1.5.
Loading the 1-Click Upgrade Module in PrestaShop 1.5
If you have not already downloaded the latest version of the 1-click Upgrade Module, you can do so by any one of several ways. The first way you can obtain the module is through the Administrator Dashboard MODULES section:
- Login to the Administrator Dashboard
- Hover over MODULES in the menu bar, then click on MODULES when it appears in the drop-down menu.
- If you have an account with the PrestaShop Add-ons page, then you have the option of clicking on the login-bar to login:

- From here you can search for 1-click Upgrade Module and then download the ZIP file directly.
You can also go DIRECTLY to the PrestaShop.com website, then select ADD-ONS from the menu to download the file:
- Login to PrestaShop Add-ons in order to proceed. It is required that you have an account to download, so register and confirm a new account before proceed by following their onsite instructions.
- Once you have completed the registration process, click in the SEARCH field and type "1-click Upgrade Module" as per the follow screenshot:
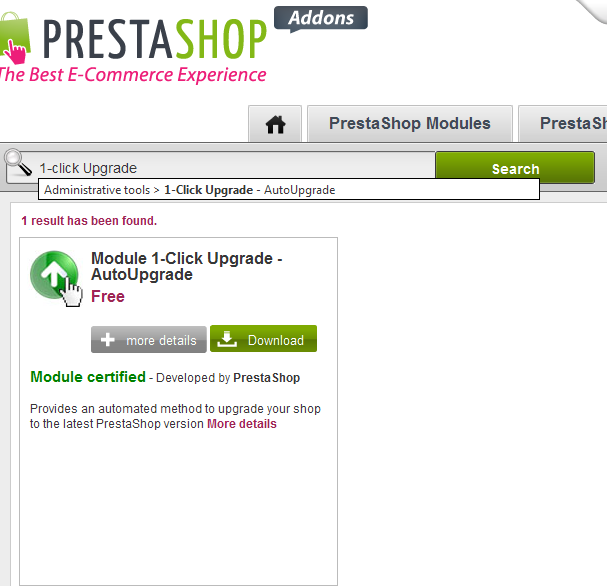
Clicking on the title or more details will lead to the following screen: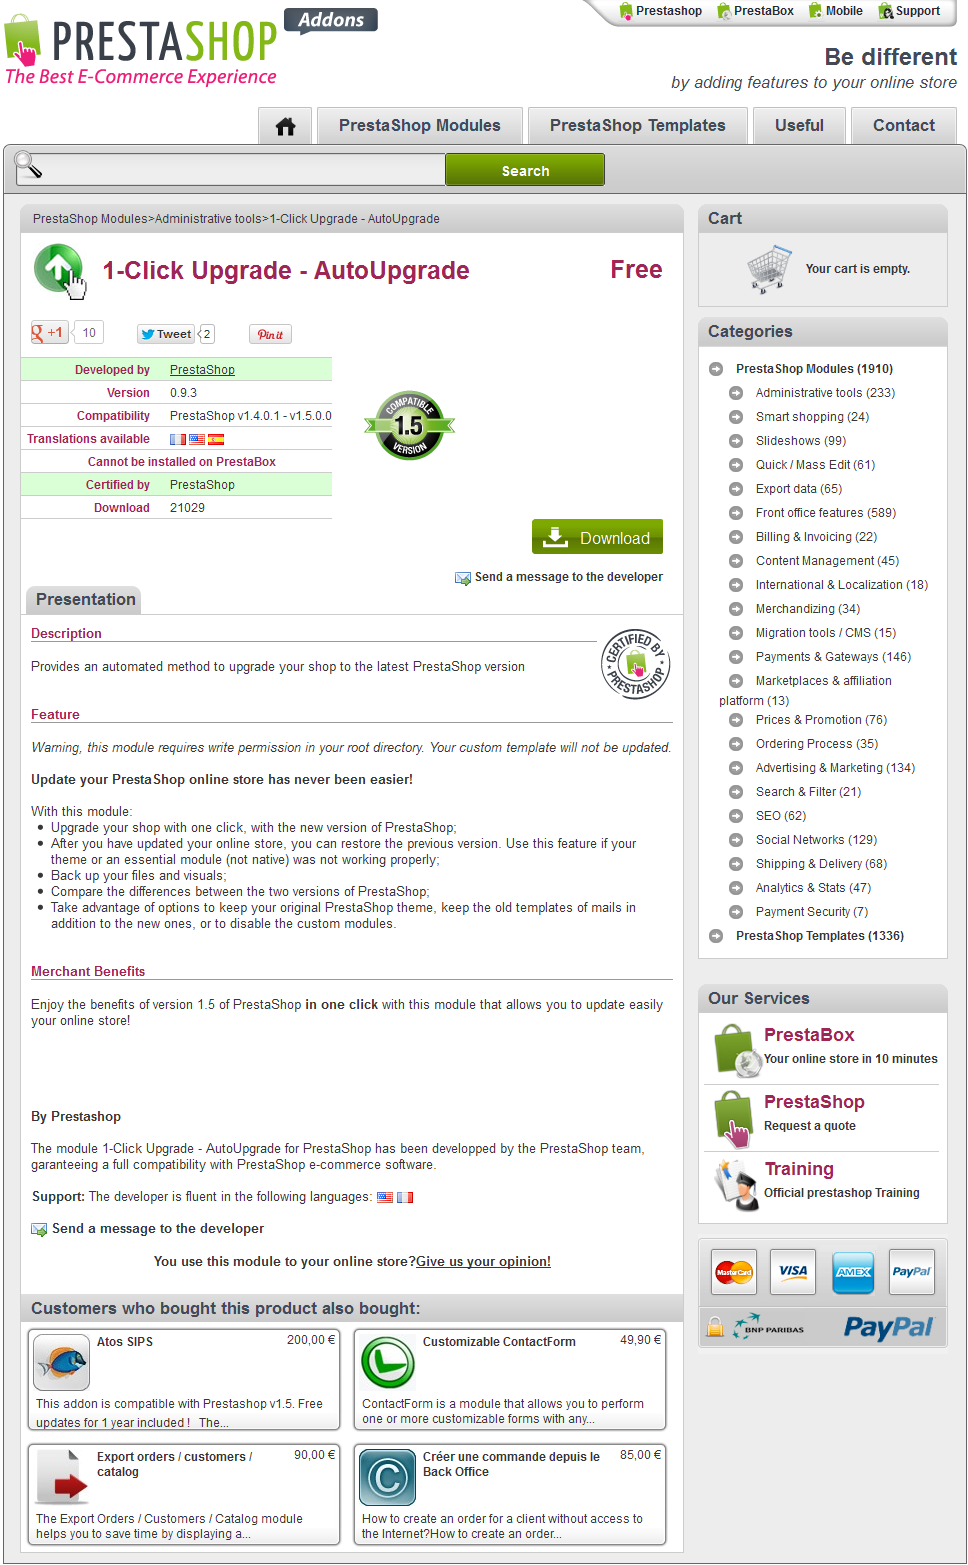
- Click on DOWNLOAD in order to obtain the ZIP file for the module. The file name is autoupgrade.zip. Make sure that you note and remember where the file is saved on your computer.
- Login to the Administrator Dashboard.
- Hover over MODULES in the menu bar, then click on MODULES when it appears in the drop-down menu.
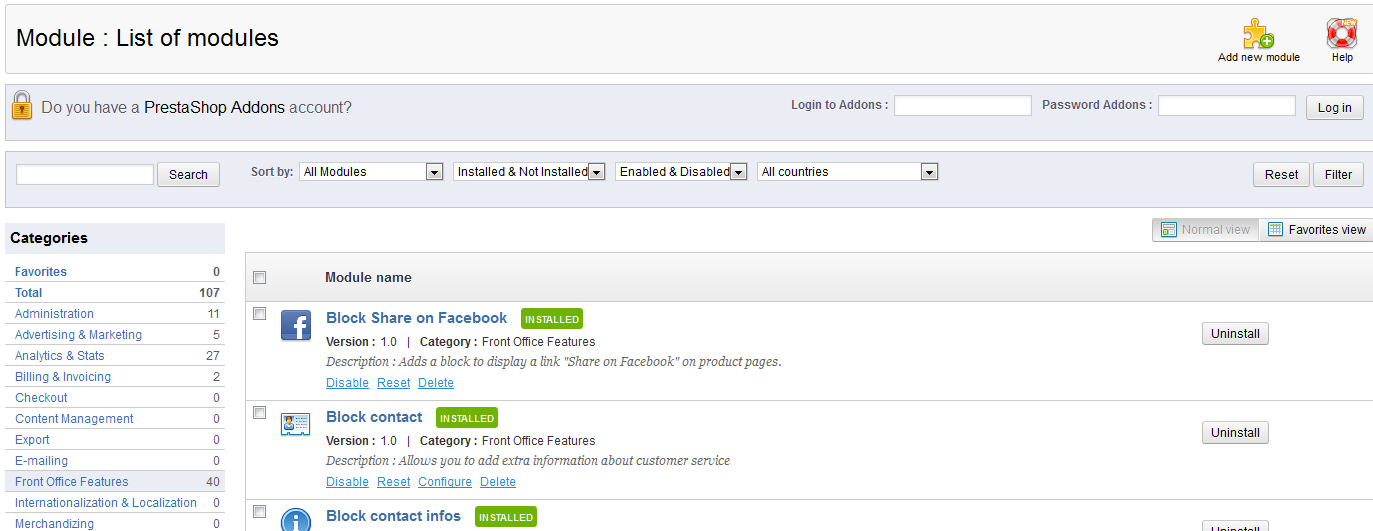
- At the top of the Modules screen you will see the following:
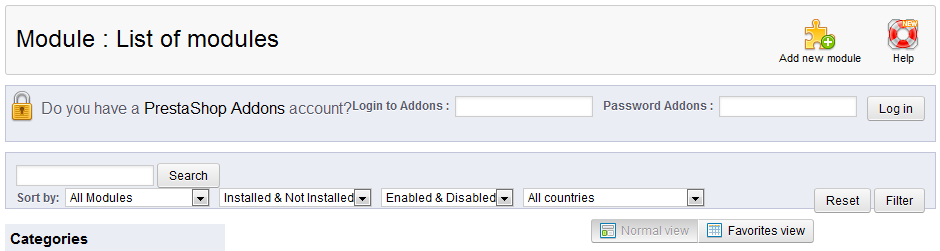
Note that at the top right there is an option that is labeled ADD NEW MODULE. - Click on ADD NEW MODULE and you will see the following:
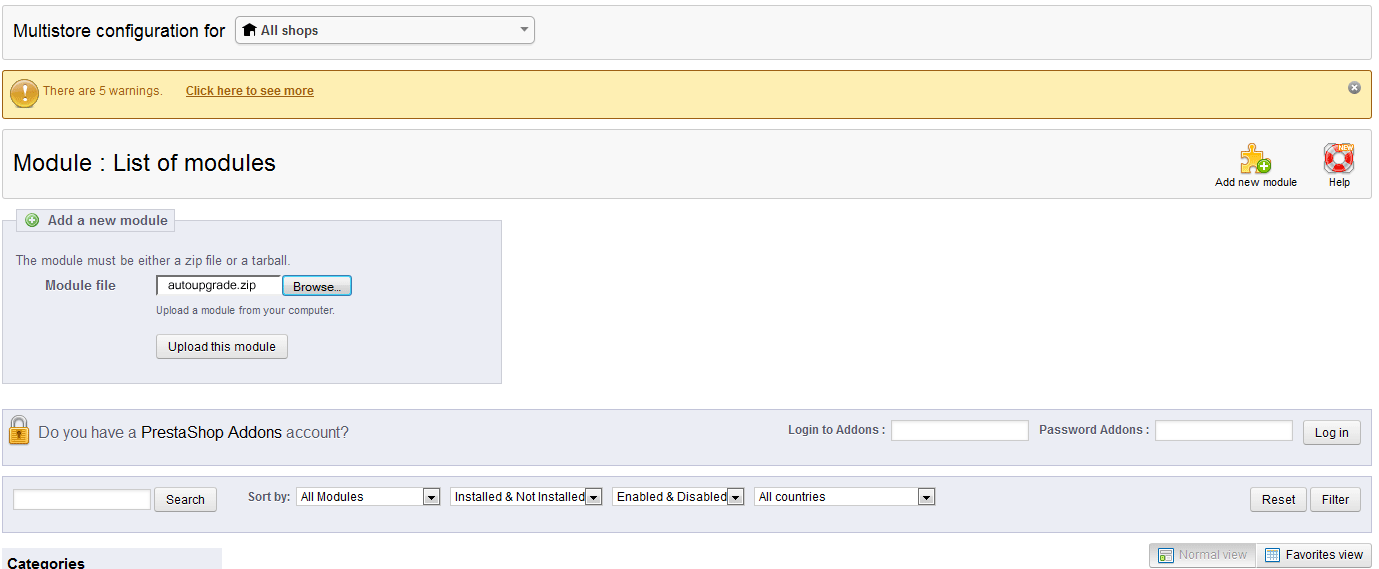
- You will need to specify the location and name of the file as it was downloaded to your computer. Once you have found the file and specified it by clicking on BROWSE in the MODULE FILE field (as per the screenshot above), click on UPLOAD THIS MODULE. This will complete the load process for the module.
Once you have the file loaded you will be able to proceed to the MODULES section of Prestashop in order to install the module:
- Login to the Administrator Dashboard
- Hover over MODULES in the menu bar, then click on MODULES when it appears in the drop-down menu.
- When you get to the MODULES screen you will see a screen similar to the following:
As per the screen above, you will see a number of modules that will indicate if they are installed or not installed. If the module is not installed, it will appear as follows: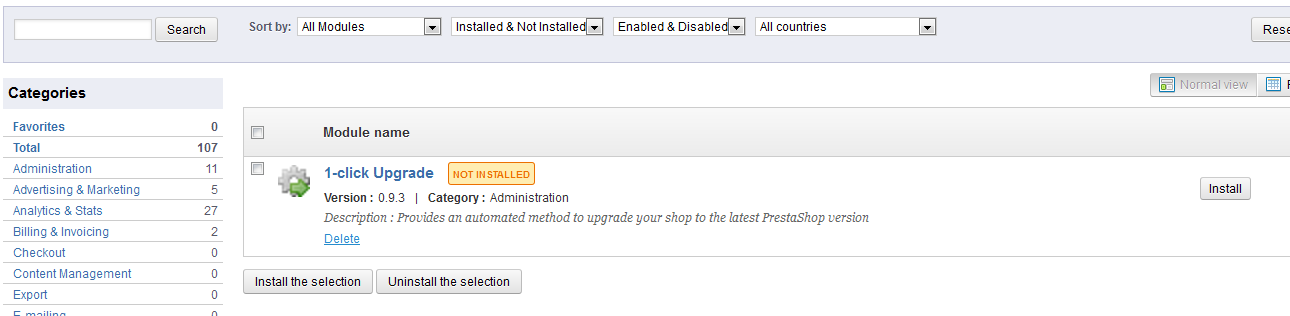
Note the INSTALL button at the far right. You can also click on the checkbox to the left of the module in order to select it and then click on INSTALL THE SELECTION at the bottom of the screen. - Click on the INSTALL (or INSTALL THE SELECTION) button to complete the module installation process.
PrestaShop modules all require that they be installed through the Module installation process within the PrestaShop Dashboard. The 1-Click Upgrade module has recently been updated so that all updates occur smoothly with no conflicts. Please note that in order to use the 1-Click Upgrade module, you must still configure the module. Go to Configuring the 1-Click Upgrade Module in order to continue the setup process for this feature. The module installation process (not including configuration) appears as follows when it is complete: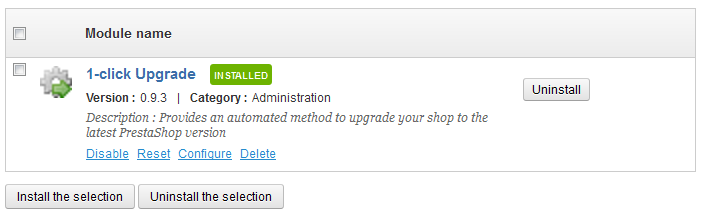
Did you find this article helpful?
Tweet
Help Center Login
Using Modules in PrestaShop 1.5
Related Questions
Here are a few questions related to this article that our customers have asked:
Ooops! It looks like there are no questions about this page.
Would you like to ask a question about this page? If so, click the button below!

We value your feedback!
There is a step or detail missing from the instructions.
The information is incorrect or out-of-date.
It does not resolve the question/problem I have.
new! - Enter your name and email address above and we will post your feedback in the comments on this page!