How do I Compress and Extract Files to my Account?
If you're moving your website or installing a program, you can extract the files directly to account. This is done by first compressing the files in a .zip or .gzip file. Once compressed, the file is then uploaded into your cPanel File Manager and extracted.
How do I compress my website files?
If you're installing a new program or moving a site, the files are likely already compressed. If not, you can compress the files using free tools online. To make a zip file, first download 7zip from http://www.7-zip.org. After installing 7zip on your computer, follow the instructions provided to "zip" your files. Once you have a zip file, you are ready to upload it in your cPanel. If you want to compress files already in your cPanel, you can use cPanel's Compress tool. To compress a file in cPanel, first log into your cPanel and access your File Manager.
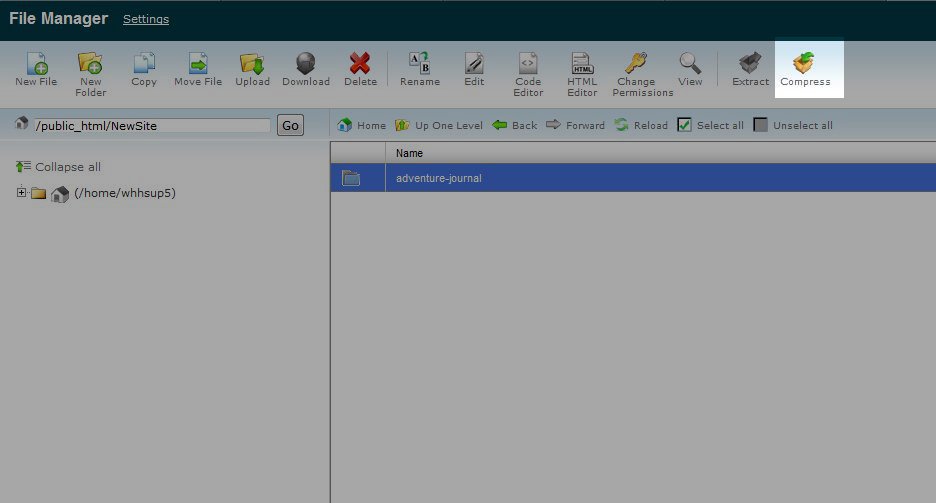
1. Select the folder you want to compress and click Compress in the menu:
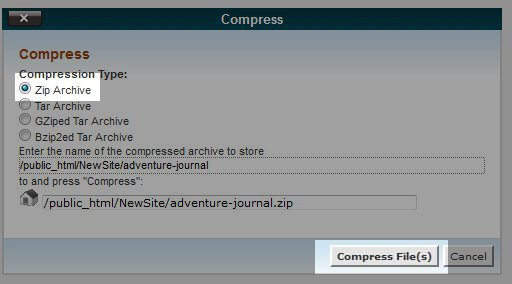
2. Choose your compression type and click Compress File(s):
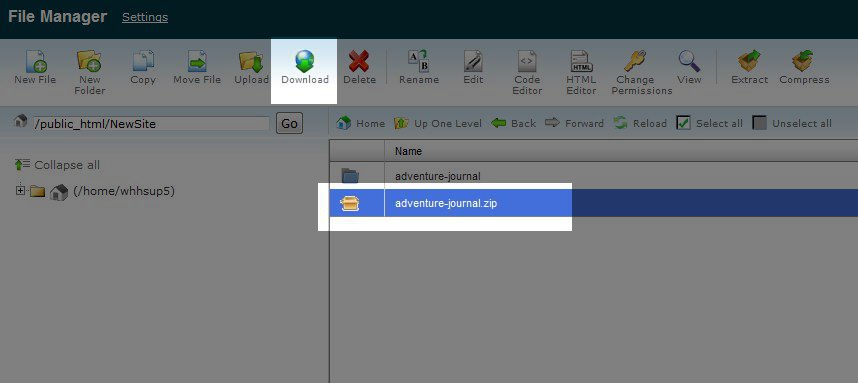
3. Now the compressed file will be created and put in the folder specified above:

4. You can select the compressed file and click "Download" to download the file to your computer.
How do I extract my website files?
In cPanel, you can extract .zip, .Gz, .Bz2, and .tar files. To extract the file, first log into your cPanel and access your File Manager.
1. Once in your File Manager navigate to the folder you want the files extracted in. In this example we will extract the files into a folder called "NewSite." Since the folder is new, it's currently empty:
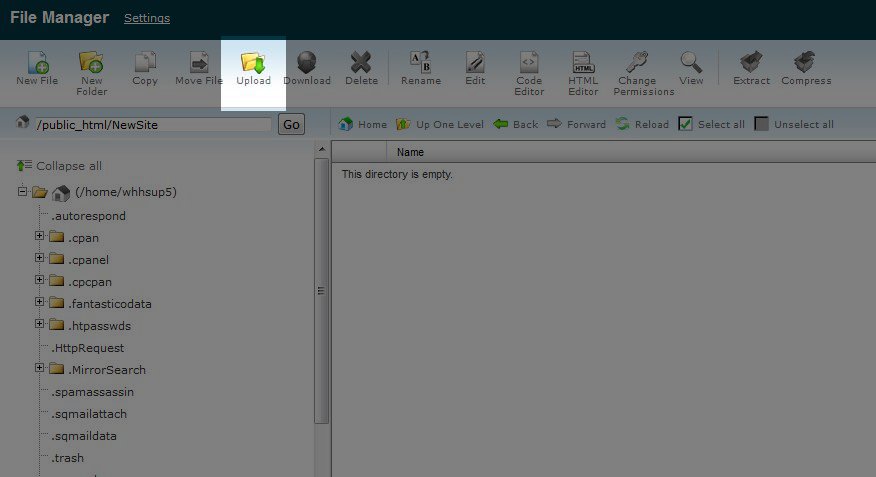
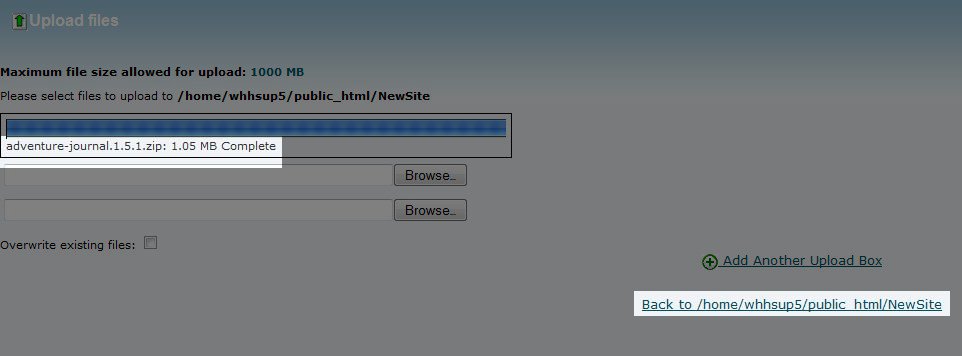
2. Click the Upload icon and browse your computer to find the file to be unzipped. Once the file is uploaded it will show as complete:
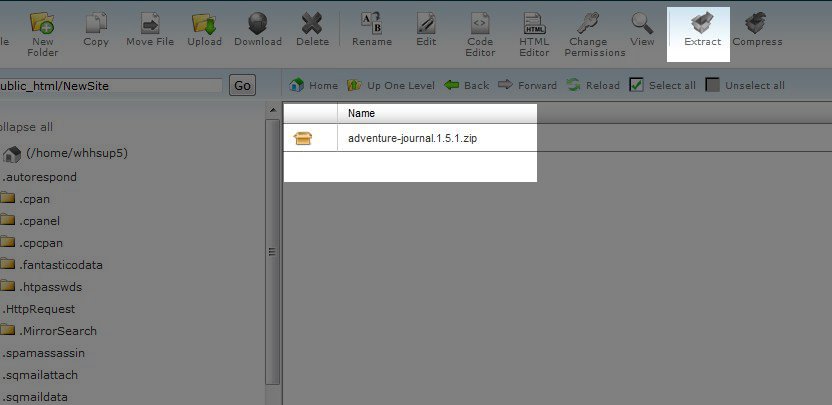
3. Go back to your folder and now you will see the zip file. Click on the zip file and hit "Extract":
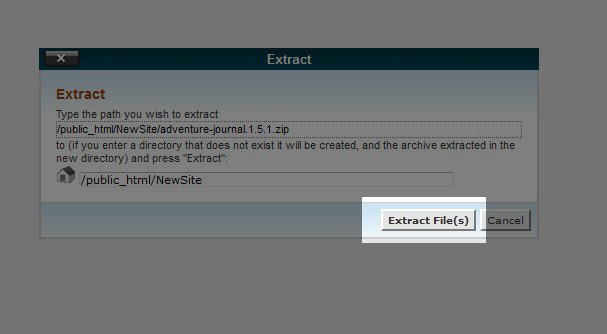
4. cPanel will confirm where you want the file extracted. If you already have it in the correct folder, you can go ahead and Extract. If not you can change the location here. Once you have confirmed the Extract folder click Extract File(s):
5. Now all files have been extracted into a folder with the same name as the zip file:

Remember that you can move the folder by selecting it and dragging it the desired folder. Once you have extracted the zip file, it's safe to remove the zip file from your account. You can do this by selecting the zip file and clicking on "Delete" in the menu.
Did you find this article helpful?
Tweet
Help Center Login
Related Questions
Here are a few questions related to this article that our customers have asked:
Ooops! It looks like there are no questions about this page.
Would you like to ask a question about this page? If so, click the button below!

We value your feedback!
There is a step or detail missing from the instructions.
The information is incorrect or out-of-date.
It does not resolve the question/problem I have.
new! - Enter your name and email address above and we will post your feedback in the comments on this page!